2 Foolproof Ways to Patch Drywall!
Learning how to patch drywall can be daunting, especially if you’re a beginner DIYer. But not to worry – we’ve got some tips for quickly and easily patching your drywall! Fixing a damaged wall is easier than you might think. With the help of a few simple tools and materials, you can make repairs with confidence. The first method of repairing drywall is through the use of stick-on patches. The second method of repairing drywall is through traditional installation. This will involve carefully measuring the area that needs to be patched, cutting out the damaged piece, and then fitting a new one back into place.
In the video below, we show you these two foolproof ways to patch your drywall. It’s easy, it’s effective – and it’ll have your walls looking good as new in no time!

How to Prepare Your Drywall to be Patched!
As mentioned above, the first method is through the use of stick-on patches. These types of patches are very easy and straightforward to use, as they don’t require cutting into the wall. All that’s necessary to start is to peel off the backing from the patch and press it firmly onto the damaged area of the wall. Once this is done, you are good to continue the patching process.
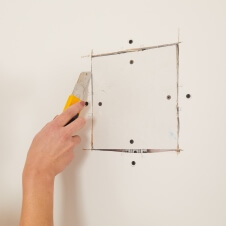
The second method is a traditional installation method of drywall. To complete this method, you have to carefully measure the area that needs to be patched, cut out the damaged piece, and then fit a new piece back into place.It’s important to ensure the proper measurements are taken, as this helps the patch to fit securely in place without creating any gaps or voids. You should also take care with cutting out the damaged piece; it’s best to use a sharp utility knife and make sure your cuts are clean and even. After this is done, you’ll need to use press on clips and screws, the new drywall piece, as well as mesh. Once these steps are done, you are ready to continue the patching process.
The Final Patching Process
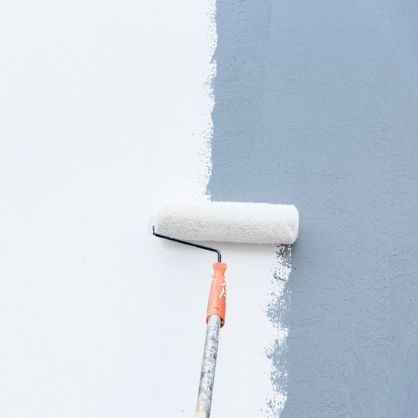
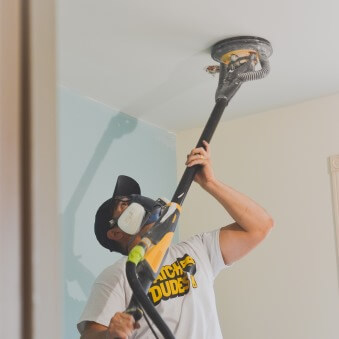
To finish off the patching process, it requires the use of drywall mud, a ready-mix drywall compound, and an extra-fine sanding block. The drywall mud (our dudes are using sheetrock 20) is used to fill any holes or gaps left by the stick-on patches and helps to create a smooth surface, and it will require two coats. The ready-mix drywall compound (our dudes are using the CGC sheetrock dust control lightweight all-purpose) is then applied as the last coat, over the patched area in order to ensure that everything is sealed and evened out. Finally, an extra-fine sanding block (our dudes are using a dustless sanding system) is employed in order to provide an even finish – this last step helps to prevent any cracks or ridges from forming in the future! You can use any sanding block as long as it is an extra fine one – 180 grit and above. Working with these materials can be quite tricky, so make sure to take your time and read up on some guidance before starting your repair project!
Watch the YouTube video above for an in-depth, detailed tutorial on all these steps. If you don’t think you are up to the challenge of patching your own drywall, don’t worry – that’s what the Patch Dudes are here for! Our professional team can help you with all kinds of drywall repair. Get in contact with us today!