Stucco & Popcorn Ceiling Removal
Patch Dudes is the perfect solution for your stucco popcorn ceiling removal needs.

Patch Dudes is the perfect solution for your stucco popcorn ceiling removal needs.
Our Services
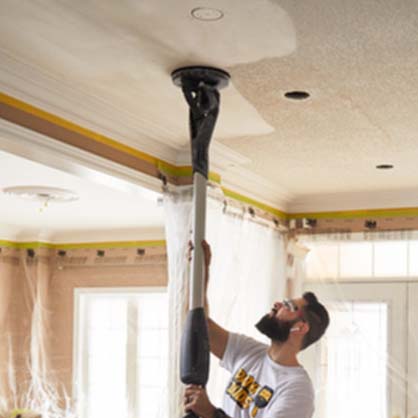
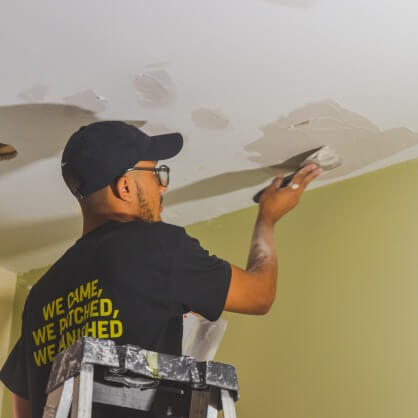
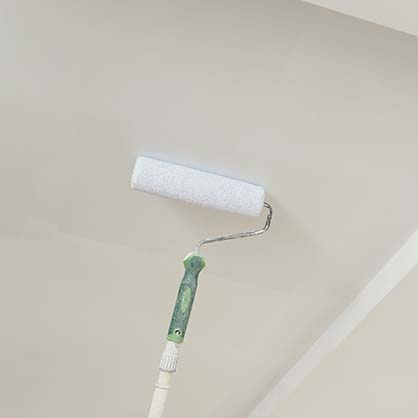





Many contractors can fix a hole, but not many can provide you with a totally amazing experience from the second you request a quote to the moment we pack up our tools after a job well done. When hiring the Dudes, you can rest assured that your calls will always be answered, communications will be on point, and the Dudes will always have a smile on their faces! From start to finish, we make sure you’re satisfied with your experience as our valued client – from quote request through repair performance, you will be blown away by the Dudes’ professionalism and knowledge! We study our craft to be able to deliver our valued clients the highest level of work. No Mess, No Stress: We use dustless sanding equipment to ensure your home’s air stays pure and clean of dust! Between our excellent customer service and strong popcorn ceiling removal or drywall and ceiling repair workmanship, you will love the Dudes way.
We’ll Flatten Your Ceilings

Step 1:
The very first thing that you need to do is fill out the intake form on our contact page. This will provide us with the necessary information we need to know about the job.
On this form you will need to provide your contact information, the amount of areas that need to be worked on, photos of the areas that need stucco removal, and if you need the area to be painted after repair.
When providing us with photos, we ask that you include a few wide shots that include the entire area(s). This will allow us to choose the right team to get the job done!

Step 2:
After you fill out our intake form, we’ll take a look at the information that was submitted with it and contact you within 24 hours.
We will inspect the photos of the area, determine which materials will need to be used to get the job done, and find the right professionals from our team to complete the popcorn removal!
We know that you shouldn’t have to pay in order for us to assess your popcorn ceilings. This is why we will provide you with a completely free, no-obligation quote. We’ll give you all the information that is necessary for a well-informed decision.

Step 3:
Once you’ve had the chance to review your quote and think about your options, you can let us know if you’d like to proceed with the popcorn ceiling removal. If you accept the proposal to move forward with the removal, we can set up the date.
When we book your stucco removal appointment, we will choose a day and time that works best for you. We perform removal jobs Monday to Friday from 8AM to 6PM.
After your date is booked, there is nothing more you have to do! You can simply sit back and relax until the day of your appointment.

Step 4:
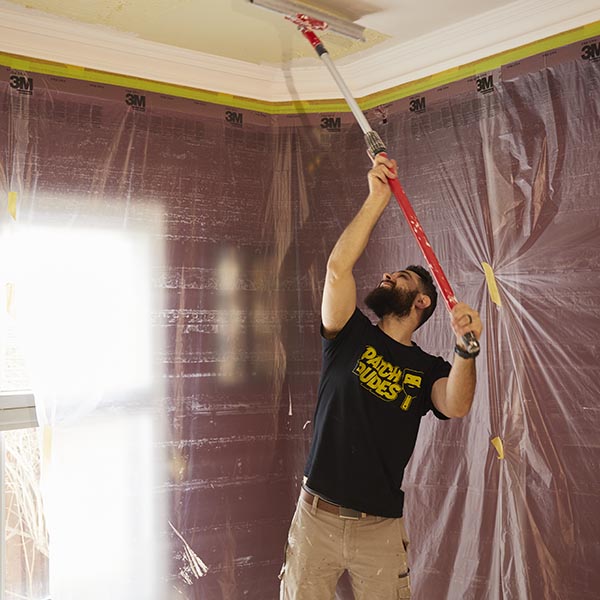
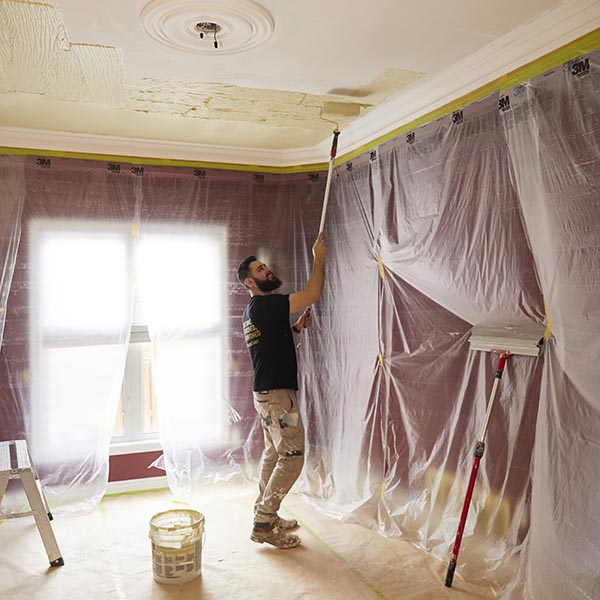
On the day of your appointment we will arrive at the scheduled time. We will begin by moving all furniture and covering the floors and walls. We remove electrical fixtures if needed.
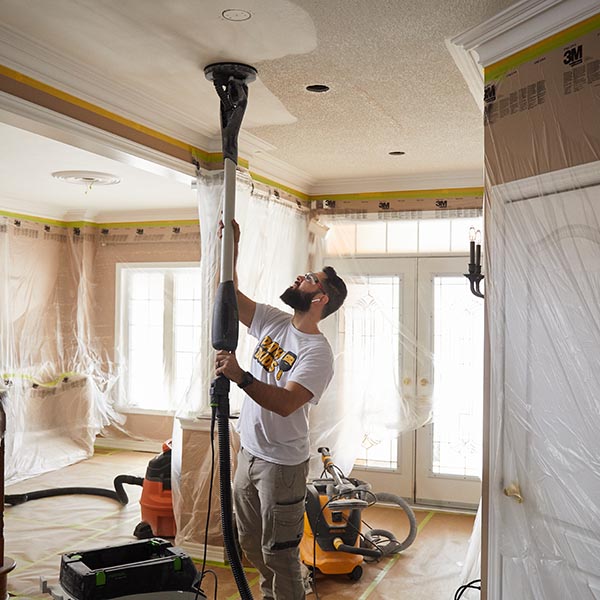
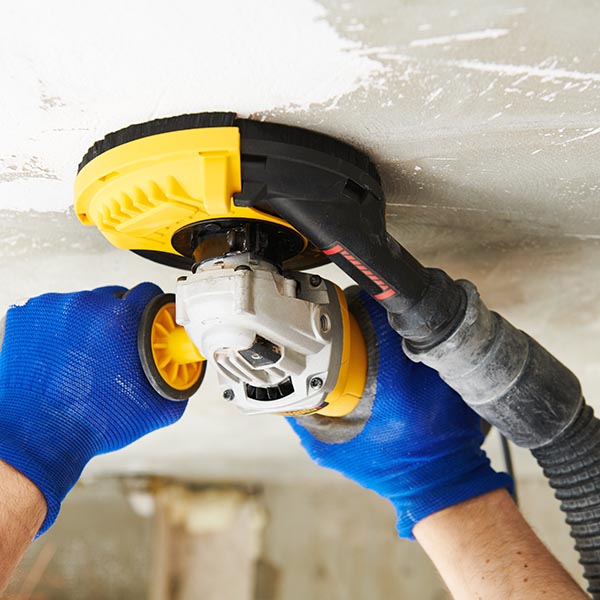
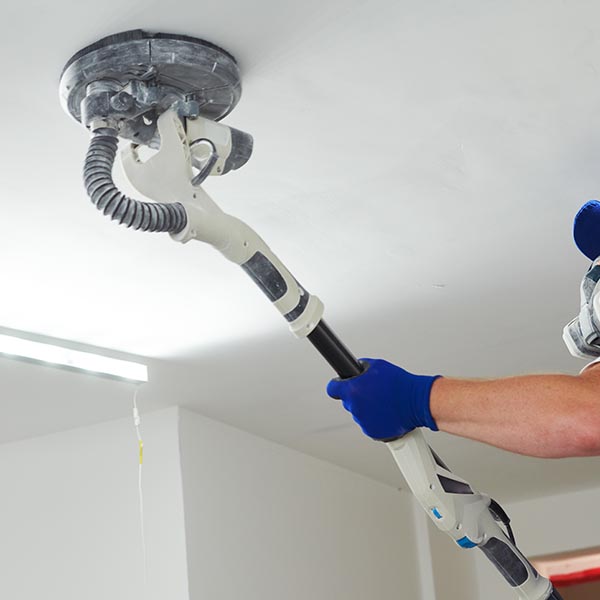
We then use dustless sanding machines to remove the existing stucco while eliminating mess, repair any taping or water damage or screw pops, and apply 2 skim coats on the entire surface to even everything out.
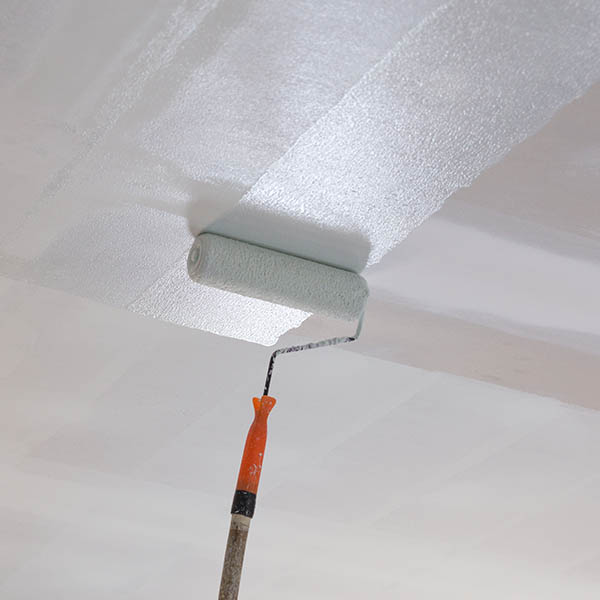
When that is done, we sand the entire surface using dust-free sanding equipment, prime everything and perform final touch ups, paint 2 coats on the ceiling, and finally clean up and admire a job well done.

Step 5:
Once the removal is fully complete, we make sure we clean up any mess that has been made. We always leave your area as clean as we found it!
And that’s it! The popcorn ceiling removal process is complete!
We really are a one-stop shop for all your renovation needs. Once the removal is done, you’ll have yourself an expertly renovated space that’s ready to call home!
Typically we charge between $6-10 per square foot for stucco removal. However since every job is unique it is best to schedule a free, no-obligation in house estimate with one of the Dudes!
Our typical pricing can be found below.
| Square Footage | Price |
| 0-249 | $2400 (our minimum charge) |
| 250-349 | $10/sq.ft. |
| 350-799 | $8/sq.ft. |
| 800+ | $7/sq.ft. |
*Please note there is a 25% surcharge for services where work with furniture is required
Absolutely not! We invested in dustless sanding equipment exactly for this reason. We cover all your furniture and belongings to ensure nothing gets dirty or messy.
The Dudes have been developing their drywall repair system and methods for the past 10 years. We stay up to date with new products, application methods and the latest technology to ensure our clients receive the best experience possible!
Yes we do! We offer a 1-year warranty against cracks or product failure.
We accept all major credit cards, e-transfers, cheques and cash.
While availability is subjected to change frequently, we typically can book your removal within 1 week of acceptance of the quote.
Popcorn ceiling & stucco removal typically takes 2 days for 200-500 sq ft. For larger areas, it can take 3-4 days.
Absolutely not! All the dudes are employed and uniform! They all go through a 2 month long exhaustive training program to ensure a proper application that stands up to our very high standard!
No. The team at Patch Dudes always covers and protects the area before the job has begun. This is to ensure no damage occurs to your property. When the repair is finished, we always clean up the area and leave it just as we found it.
Yes! Textured ceilings, stipple ceilings, popcorn ceilings, or any variation of the sort - Patch Dudes can help you modernize and clean up your ceilings fast.
OUR WORK