How to Install Drywall: A Step‑by‑Step Guide from Patch Dudes
Proper drywall installation isn’t a simple task; it’s the foundation of smooth walls and flawless ceilings that stand the test of time. A poorly executed job can result in cracks, visible seams, sagging panels, and a poor finish.
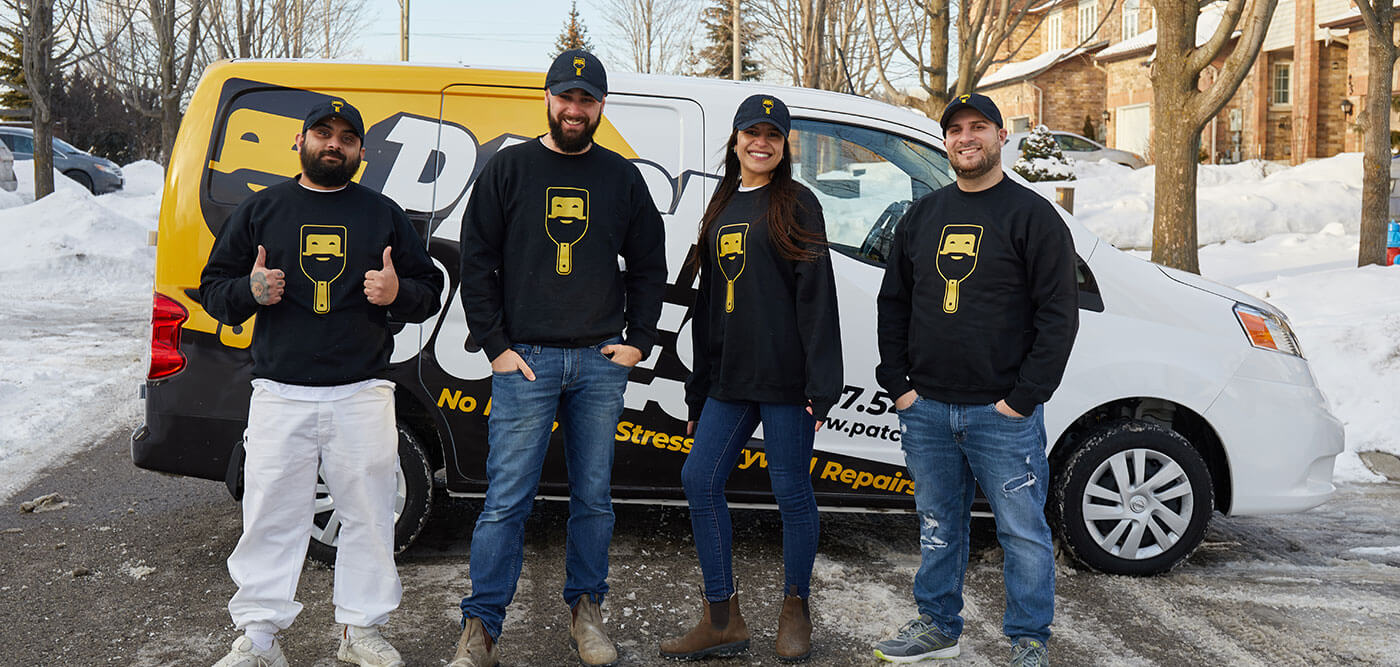
At Patch Dudes, we’ve refined this process for thousands of GTA homes, taking pride in clean installations that last. By following our detailed guidance, you’ll avoid common pitfalls like loose panels, drywall dust, and uneven surfaces, while achieving a result that’s both reliable and refined.
1. Planning & Measuring 📏
Begin by measuring the total square footage of the walls and ceilings to determine how many drywall sheets you’ll need. Divide the total area by 32 sq ft to calculate the required number of 8′×4′ drywall sheets. Always round up slightly to account for cuts and waste. As well, add a few extra drywall sheets in the case of any mistakes.
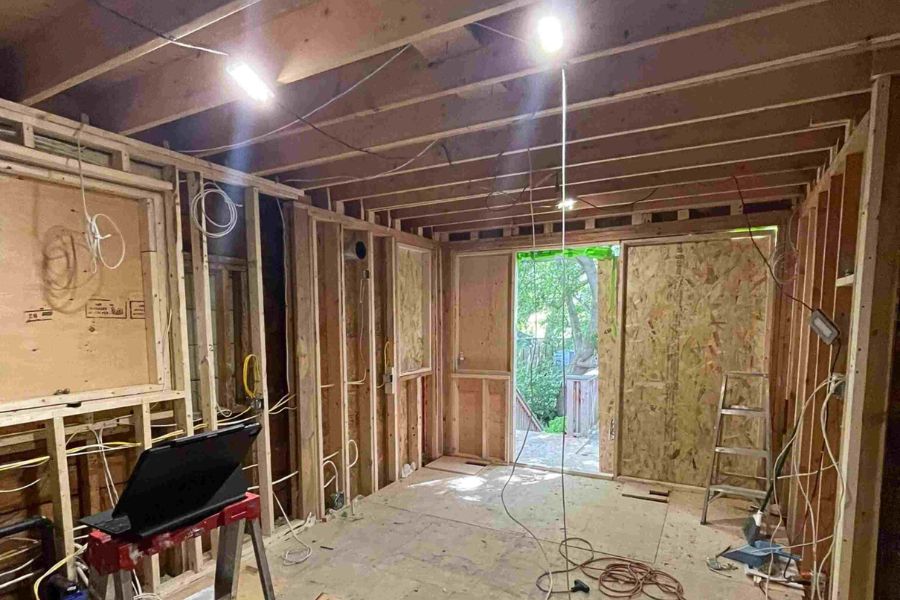
Before starting, double-check that framing, electrical, plumbing, and all rough-ins are complete and have passed inspection; installing drywall over unfinished systems will only cause rework later. Optionally, for enhanced structural stability and to reduce the chance of future cracking, apply a foam adhesive to the studs before hanging the drywall, as it helps secure the sheets more firmly.
2. Hanging Drywall
There are a few important steps you must remember to ensure you hang your drywall correctly.
Install Ceiling Panels First
Begin by installing ceiling drywall in a staggered, perpendicular pattern to the ceiling joists. This technique provides maximum support and reduces the likelihood of sagging. Make sure each sheet ends on the center of a joist – never leave edges unsupported. Use a quality drywall screw gun and drive screws into studs approximately every 12 inches in the field and every 7-8 inches along the edges, making sure each screw is countersunk just below the paper surface without tearing it.
Proceed with Wall Installation
Once the ceiling is complete, move on to the walls. Install drywall sheets horizontally, starting from the floor up to the ceiling, especially if your walls exceed 8 feet. Horizontal application reduces the number of vertical butt joints and increases rigidity. As with the ceiling, ensure each long edge overlaps a stud and stagger the seams to enhance wall strength.
Final Touches on the Hang
After hanging all boards, use a utility knife to carve any protruding butt joints into a slight V-shape, which helps hide these seams during taping. Replace any cracked or damaged pieces immediately. Then, install corner beads on all outside angles – we recommend Trim‑Tex vinyl beads, as they offer superior durability, flexibility, and are easier to work with than metal ones, resisting dents and lasting longer. Clean up scrap drywall and debris, and dispose of it responsibly – drywall waste can account for up to 12% of total material, so disposal must be managed properly.
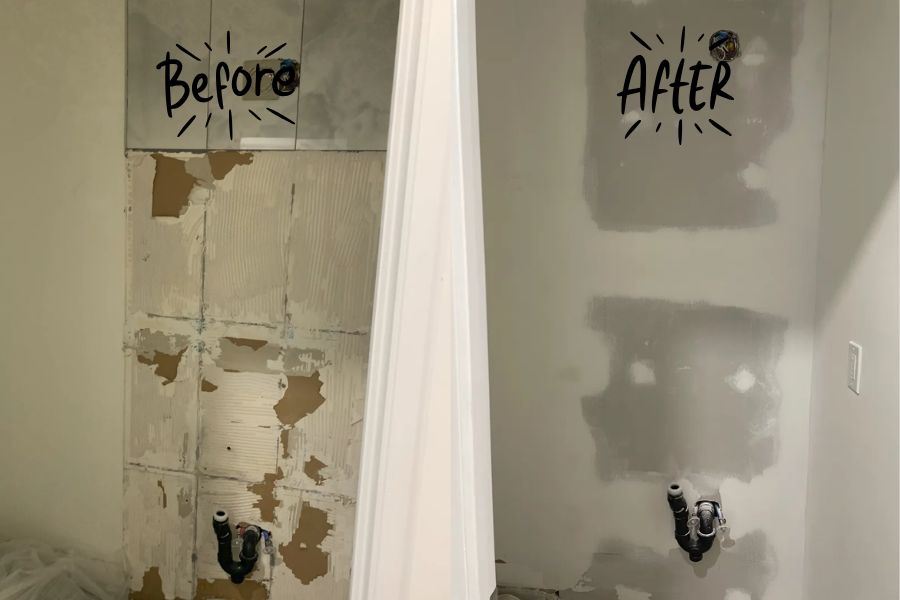
Taping & Mudding
Now that you have finished hanging the drywall, it’s time to get into drywall taping.
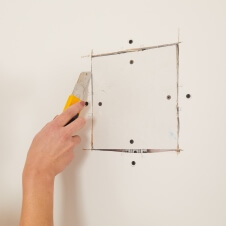
Preparation
Before applying tape or mud, inspect each panel for loose edges or gaps. If you find larger cavities, pre-fill them with a setting-type compound like DuraBond to ensure the surface is flush and stable.
Tape & Mud
Apply paper tape or FibaFuse tape to all flat joints, butt joints, and inside corners. Then, apply your first layer of joint compound over every joint and around the corner beads. Allow this to fully dry – skipping this step often leads to cracking and uneven surfaces.
Sanding & Second Coat
Lightly sand any ridges or high spots in your first coat once dry. Then apply a second and final skim coat across all joints, corner beads, and inside angles. Let it dry completely before proceeding.
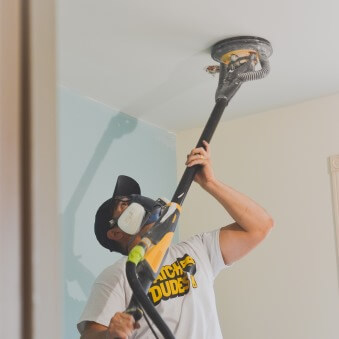
Final Sand & Cleanup
Using fine-grit (200–300) sandpaper, smooth the entire surface thoroughly. Clean up all sanding dust using a HEPA vacuum or damp cloth to minimize airborne particles.
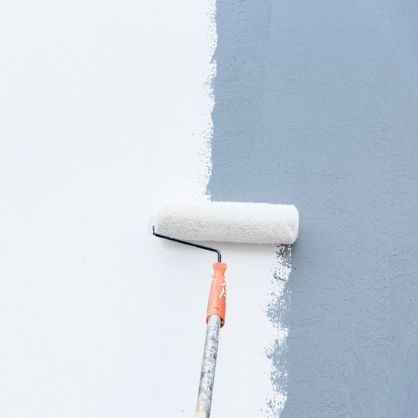
Priming & Inspection
After the mud work and cleanup, apply a PVA primer to seal the new drywall. Then, use an LED or angled work light to check the surface for imperfections. Any low spots or blemishes discovered should be repaired with touch-up mud, sanded, and re-primed before painting.
✅ Patch Dudes Pro Tips
- Store drywall flat before installation to prevent warping
- Always use properly rated drywall screws (1¼″ for wood studs) and avoid overdriving – just flatten the head slightly
- Maintain a stable environment during installation; high humidity or extreme temperatures can affect compound drying and joint performance
- Use wet sanding or sponge sanding to reduce dust, as USG suggests it creates less mess and cleaner surfaces
Choose Professional Drywall Installation
Drywall installation is both an art and a craft; every measure, screw, tape line, and skim coat counts. Follow this enhanced Patch Dudes workflow to achieve flat, durable walls and ceilings that are ready for paint and stand up to the test of time.
Need it done right the first time? Patch Dudes offers clean, efficient drywall installation and finishing across the GTA. Contact us today for a free quote and expertise you can trust!