How to Paint Your Newly Repaired Drywall Like a Pro
When it comes to home renovation projects, repairing drywall is a common task that many homeowners face. Once the drywall repairs are complete, the final step is to paint the surface to achieve a smooth and polished look. Painting drywall may seem like a straightforward process, but with a few professional techniques and tips, you can take your project to the next level. In this blog, we will guide you through the step-by-step process of painting your newly repaired drywall like a pro.
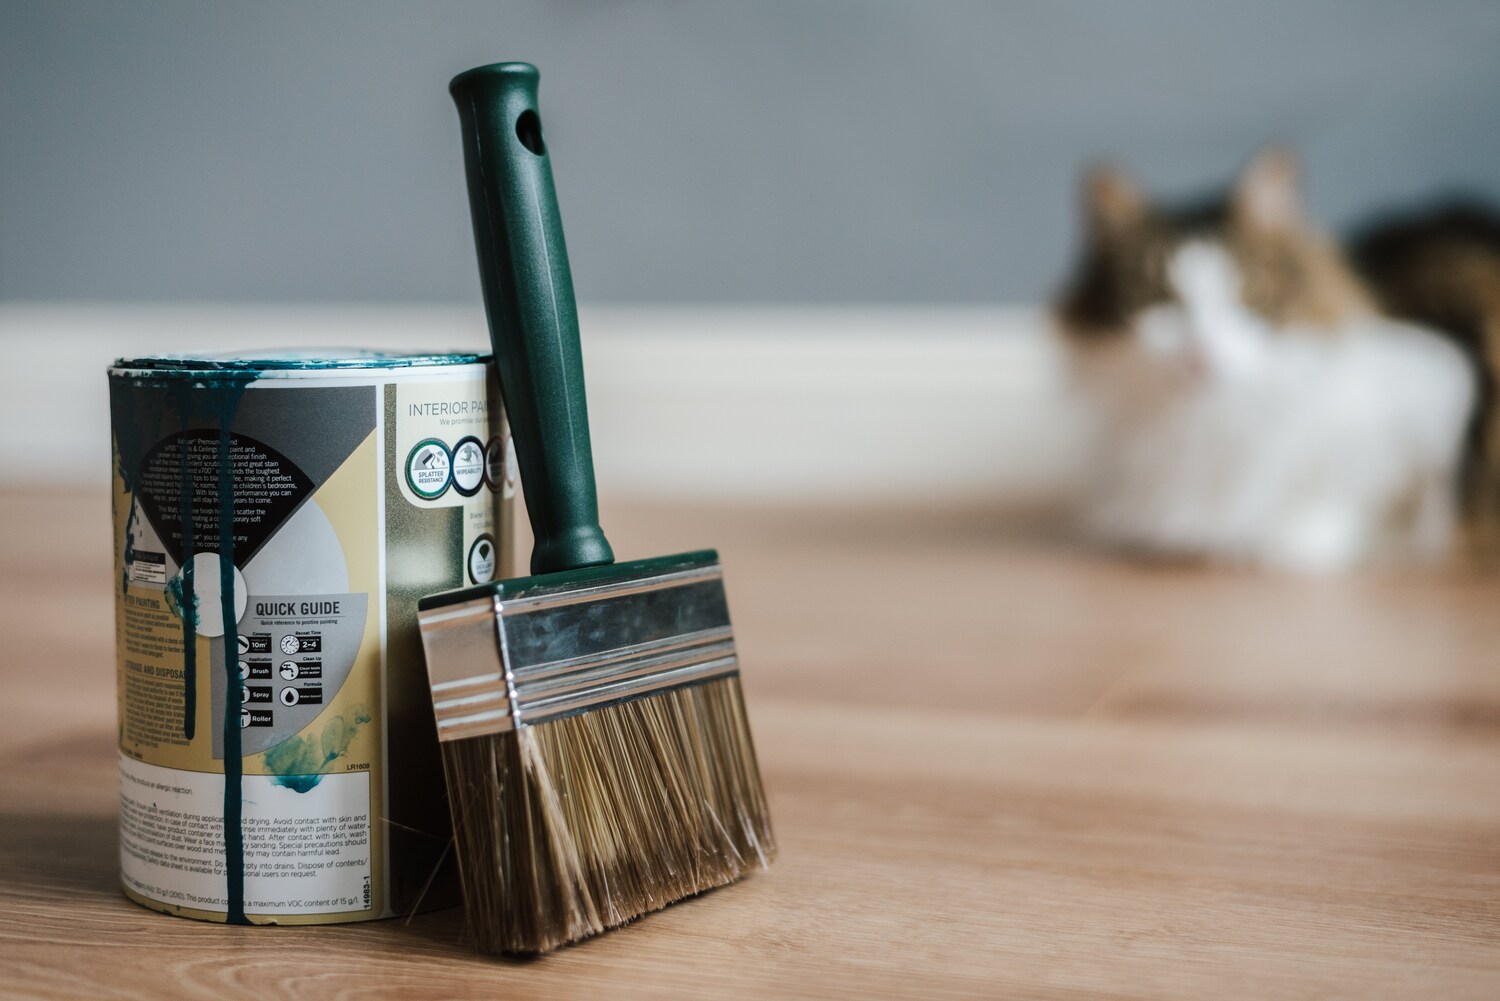
Materials You Will Need:
Before diving into the painting process, make sure you have the following materials on hand:
- Primer: Choose a high-quality primer suitable for your drywall type.
- Paint: Select your desired paint colour and finish, considering the room’s lighting and atmosphere.
- Paint brushes: Invest in good-quality paint brushes in various sizes, including angled brushes for corners and edges.
- Roller and Tray: Use a medium-nap roller and a roller tray for larger areas.
- Painter’s Tape: Get painter’s tape to protect trim, baseboards, and other surfaces you don’t want to paint.
- Sandpaper: Have sandpaper with various grits to smooth out the repaired areas and ensure a seamless finish.
- Drop Cloths: Cover the floor and furniture with drop cloths to prevent paint spills and splatters.
- Cleaning Supplies: Keep a bucket of warm water, mild detergent, and a sponge or cloth for cleaning purposes.
Step-by-Step Guide
Let’s get in to a detailed step-by-step guide on how to get the job done.
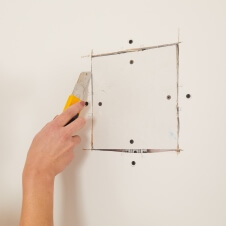
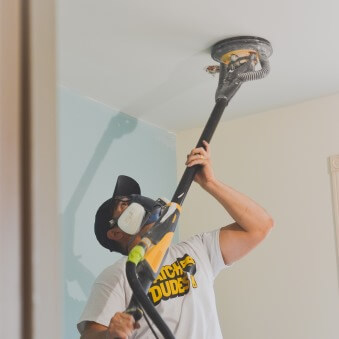
Prepare the Surface:
Before painting, ensure that the repaired drywall surface is clean and smooth. Use a damp cloth or sponge to remove any dust, dirt, or debris. Inspect the repaired areas for any imperfections and gently sand them down until they are flush with the surrounding wall. Wipe away the sanding dust with a clean cloth.
Apply Primer:
Priming the repaired drywall is essential as it helps the paint adhere properly and provides an even surface. Stir the primer thoroughly and apply it using a brush or roller. Start by cutting in the edges and corners with a brush, then use a roller for the larger areas. Allow the primer to dry according to the manufacturer’s instructions.
Tape and Protect:
To achieve clean lines and prevent paint from getting on adjacent surfaces, apply painter’s tape along the edges of trim, baseboards, and ceilings. Use a putty knife or your finger to press the tape firmly, ensuring it is properly adhered. Lay drop cloths on the floor and furniture to protect them from accidental paint spills.
Mixing and Pouring Paint:
If you’re using multiple cans of paint, pour them into a larger container and mix thoroughly to ensure a consistent colour throughout. Fill your roller tray with paint to a depth that allows the roller to be evenly coated without oversaturating it.
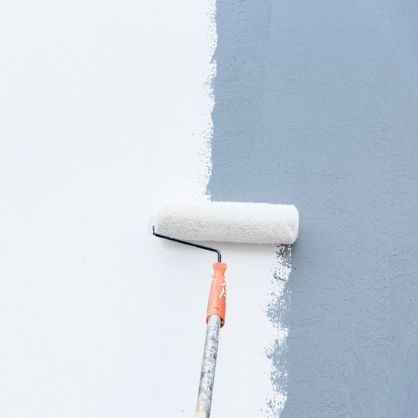
Start Painting:
Begin painting by cutting in the edges and corners using a brush. Use steady and controlled strokes, working from top to bottom. Once the edges are done, switch to a roller for the larger areas. Roll the paint onto the wall in a “W” or “M” motion, slightly overlapping each stroke to avoid visible lines.
Apply Multiple Coats:
In most cases, you’ll need to apply at least two coats of paint to achieve a solid and even finish. Allow each coat to dry completely before applying the next one. Follow the paint manufacturer’s instructions for recommended drying times.
Remove Painter’s Tape:
Once the final coat of paint is dry to the touch, carefully remove the painter’s tape at a 45-degree angle to avoid peeling the paint. Pull the tape slowly and evenly to ensure clean lines.
Touch-ups and Final Inspection:
Inspect the painted surface for any imperfections or missed spots. Touch up any areas with a small brush, blending them seamlessly with the surrounding paint. Allow the touch-ups to dry before conducting a final inspection.
Painting your newly repaired drywall like a professional involves careful preparation, quality materials, and attention to detail. By following this step-by-step guide, you can achieve a smooth and flawless paint finish that enhances the overall appearance of your room. Remember, patience and proper technique are key to achieving professional results. So roll up your sleeves, grab your brushes, and transform your repaired drywall into a work of art!
If you’re not comfortable taking on the job on your own, Patch Dudes can help! We provide professional drywall repair and painting services. Trust the professionals – get in touch with us today!