Removing a popcorn ceiling is a messy and delicate process. Proper preparation is essential to protect your home and ensure a smooth, safe project. Follow this guide about the steps you should take to prepare both vacant and furnished rooms, protect surfaces, and plan for cleanup.
Understanding Popcorn Ceilings
Popcorn ceilings, or acoustic ceilings, were common in homes built from the 1950s through the 1980s. While once valued for sound dampening, they can trap dust, look dated, and sometimes contain asbestos. Proper preparation is the first step in a successful popcorn ceiling removal. Without it, floors, walls, and furniture can be damaged, and cleanup becomes more difficult.Step 1: Determine Room Status
Vacant Rooms
If the room is empty, preparation is straightforward. Cover walls and floors thoroughly with plastic sheeting. Tape corners, baseboards, and doors to prevent dust from spreading. Vacant rooms provide a clean workspace and make removal faster and safer.Furnished Rooms
For furnished rooms, preparation requires more attention:- Move furniture toward the walls, leaving the center of the room clear.
- Beds can usually remain, provided they are fully covered.
- Remove fragile or valuable items from the room.
- Cover all remaining furniture and items with thick plastic sheeting.

Step 2: Cover Surfaces
Dust from popcorn ceiling removal can settle on every surface. Protect floors, walls, and baseboards with heavy-duty plastic or drop cloths. Cover light fixtures, vents, and electrical outlets to prevent contamination. Appliances near the ceiling should also be shielded with plastic sheeting. Sealing off the room reduces dust spread and makes post-removal cleanup much more manageable.Step 3: Look Closely at Your Ceiling
Before scraping, check the ceiling for:- Cracks, holes, or areas requiring drywall repair
- Water damage
- Signs of asbestos in older homes
Step 4: Clear and Organize the Room
Even with protective coverings, working in a cluttered room is unsafe. Ensure walkways are clear. Arrange furniture toward walls, remove small items, and cover larger pieces. This strategy minimizes the risk of accidents and allows for easier access to all areas of the ceiling.Step 5: Safety Measures
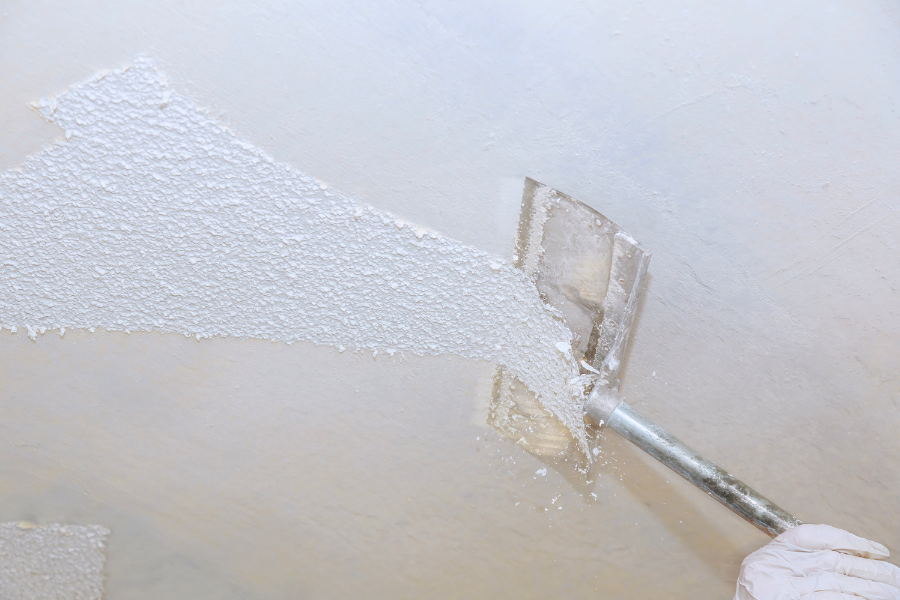
During popcorn ceiling removal, airborne dust can pose health risks. Take precautions such as:- Wearing safety glasses, gloves, and a dust mask
- Keeping children and pets out of the work area
- Ventilating the space to reduce dust accumulation
Step 6: Plan for Cleanup
Even with thorough preparation, cleanup is essential:- Roll up and dispose of plastic sheeting carefully
- Vacuum floors and surfaces with a HEPA filter
- Wipe down walls, furniture, and other surfaces to remove residual dust
- Inspect the ceiling for any remaining texture or damage that may require drywall repair
Step 7: Post-Removal Repairs
After the popcorn ceiling is removed, the ceiling often requires finishing work:- Patch small holes or cracks with drywall repair techniques
- Sand surfaces smooth for painting or refinishing
- Ensure all repairs are complete before applying primer or paint
Avoid The Clean-Up With The Right Prep
For homeowners in Toronto and the GTA preparing for a popcorn ceiling removal, planning ahead ensures a smoother, cleaner job.
Proper preparation is essential for a safe and successful removal. Following these steps makes the process simpler, helps control dust, and turns what could be a messy task into a much less stressful project.