Our expert dudes have created a guide on achieving flawlessly smooth ceilings through the art of skimming! Whether you’re tackling a renovation project or simply aiming to refresh the look of your space, mastering the technique of ceiling skimming can transform any room with a professional finish.
In this step-by-step tutorial, we’ll walk you through the process, sharing our insider tips and tricks honed through years of experience. Say goodbye to unsightly cracks and imperfections, and hello to ceilings that exude elegance and sophistication. Let’s dive in and elevate your DIY game with the Patch Dudes!
How To Skim a Ceiling: Step-By-Step
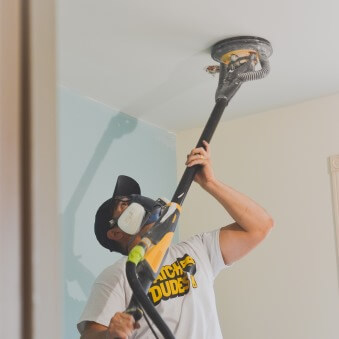
Before diving into the step-by-step process of ceiling skimming, let’s set the stage. In this tutorial, we’re picking up on day 2 of our comprehensive 43-step stucco removal system, aimed at transforming your ceilings with a pristine finish. With the stucco already removed and the first coat of mud applied, we’re ready to take the next crucial steps. To ensure a smooth surface for skimming, we’ll begin by prepping with our trusty Festool sander. But don’t worry, if you’re more of a visual learner, feel free to check out our accompanying 15-minute YouTube video (down below) for extra guidance and visuals. Now, let’s delve into the roll and skimming process, designed for efficiency and perfection, even for solo endeavors.
Step 1: Mix Your Mud
To start, you want to get the mud ready for action. We’re using the Ultra Lightweight Mud from USG, also available from CGC. Straight out of the container, this mud might seem a bit too stiff to work with, but fear not – with a few simple additions, it’ll be perfect for your skimming needs.
Grab your favourite mixer – we are using our Makita mixer – and get started. Into the mix add a sponge full of water to loosen things up, followed by a squirt of Never-Miss Final Coat Superior.
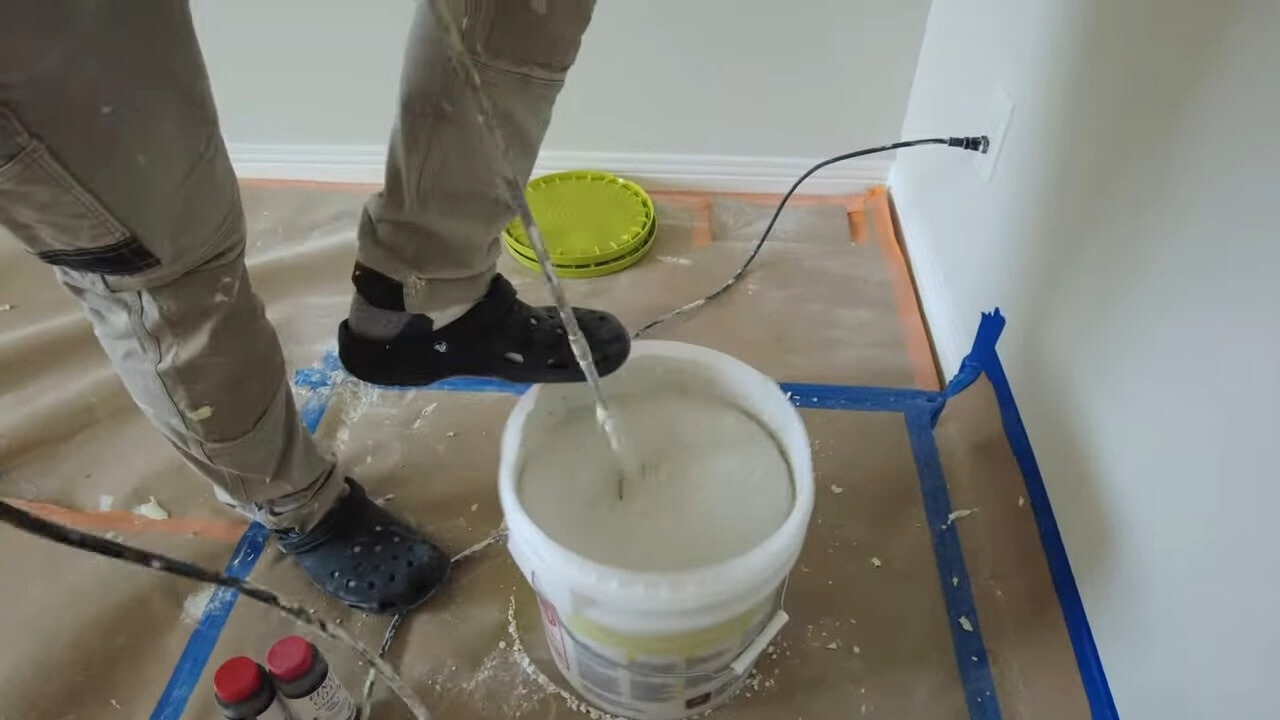
This tinted final coat not only enhances the appearance of the finished product but also ensures a smoother outcome. Once those are incorporated, it’s time to add a squirt of dish soap for added workability. Remember, start by mixing in the water and final coat, ensuring they’re well combined before adding the dish soap. Once everything’s thoroughly mixed, you’re all set. Our mud is now prepped and primed, ready to work its magic on our ceilings.
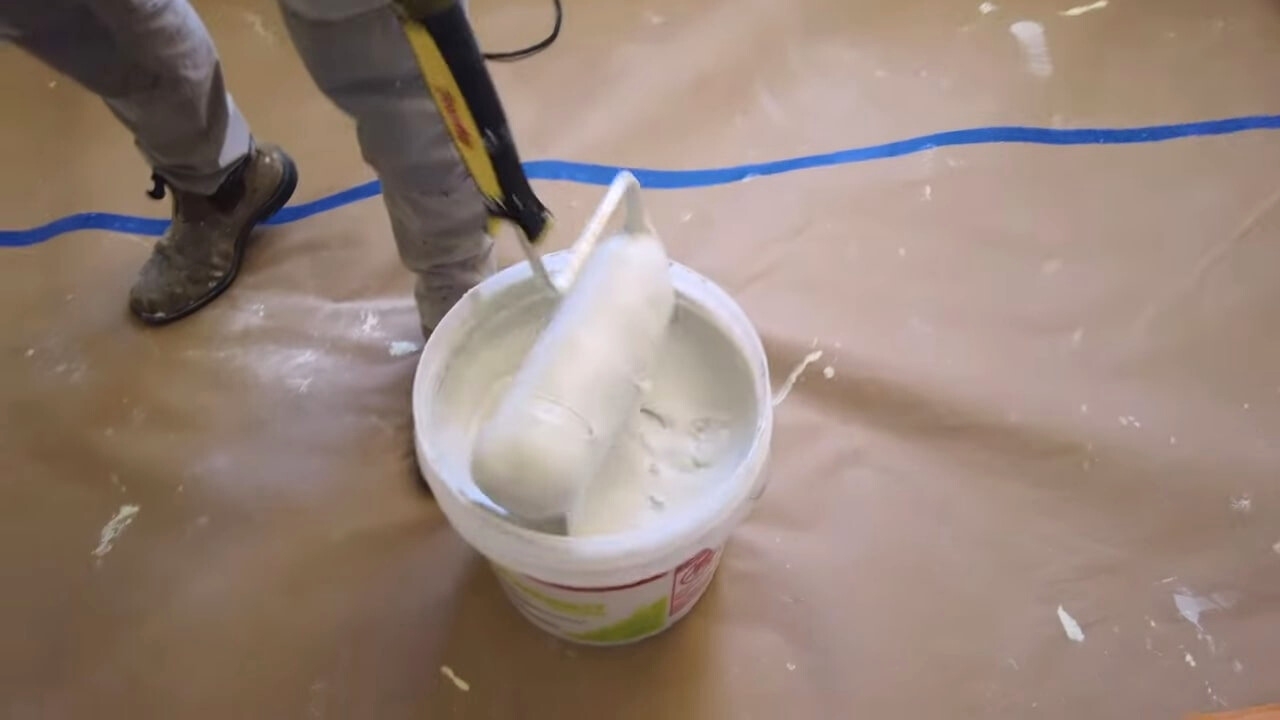
Step 2: Prepare to Start Rolling
For this task, a trusty paint roller with an extension stick will be your best companion. We opt for a 30mm paint roller for optimal coverage and efficiency. Additionally, ensure you have a skimming blade at the ready, preferably the Level 5 24-inch skimming blade paired with its matching handle, along with a 6-inch spatula or knife for finer details. Begin by dipping your paint roller into the bucket of prepped mud, ensuring it’s fully submerged and coated in a generous layer of mud. This ensures seamless application and even distribution of mud across the ceiling surface.
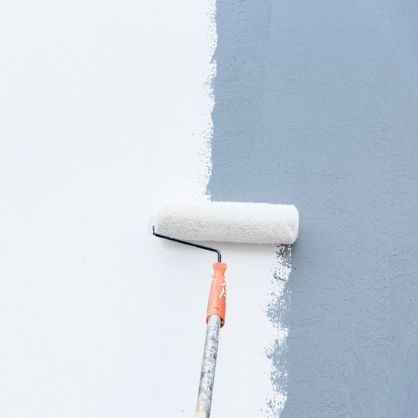
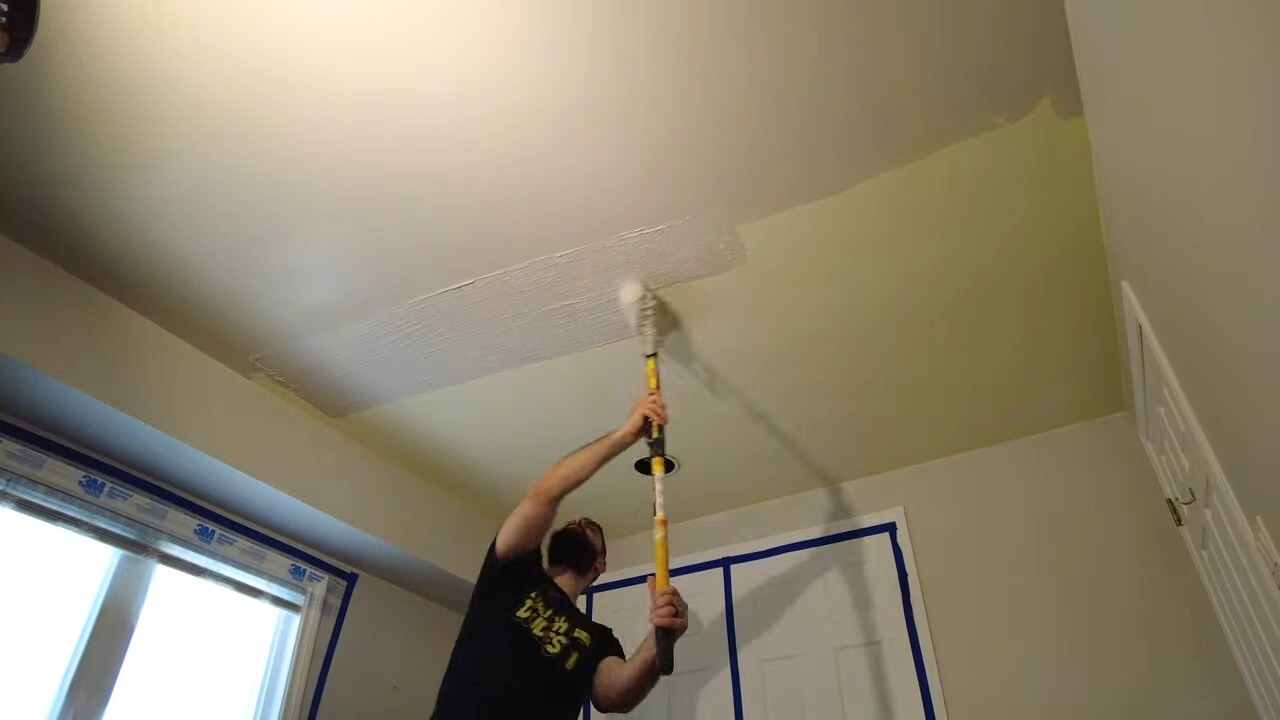
Step 3: Begin Rolling The Mud
Now that your roller is coated in mud, it’s time to begin rolling. Approach this task carefully as things can get a bit messy. Begin by rolling about 2 inches away from the edges, ensuring even coverage across the ceiling. Don’t worry about getting too close to the edges just yet – we’ll tidy those up shortly.
Always roll away from yourself – if you roll towards yourself, you risk mud dripping onto your face. As you roll, aim for smooth, consistent strokes to achieve a uniform application.
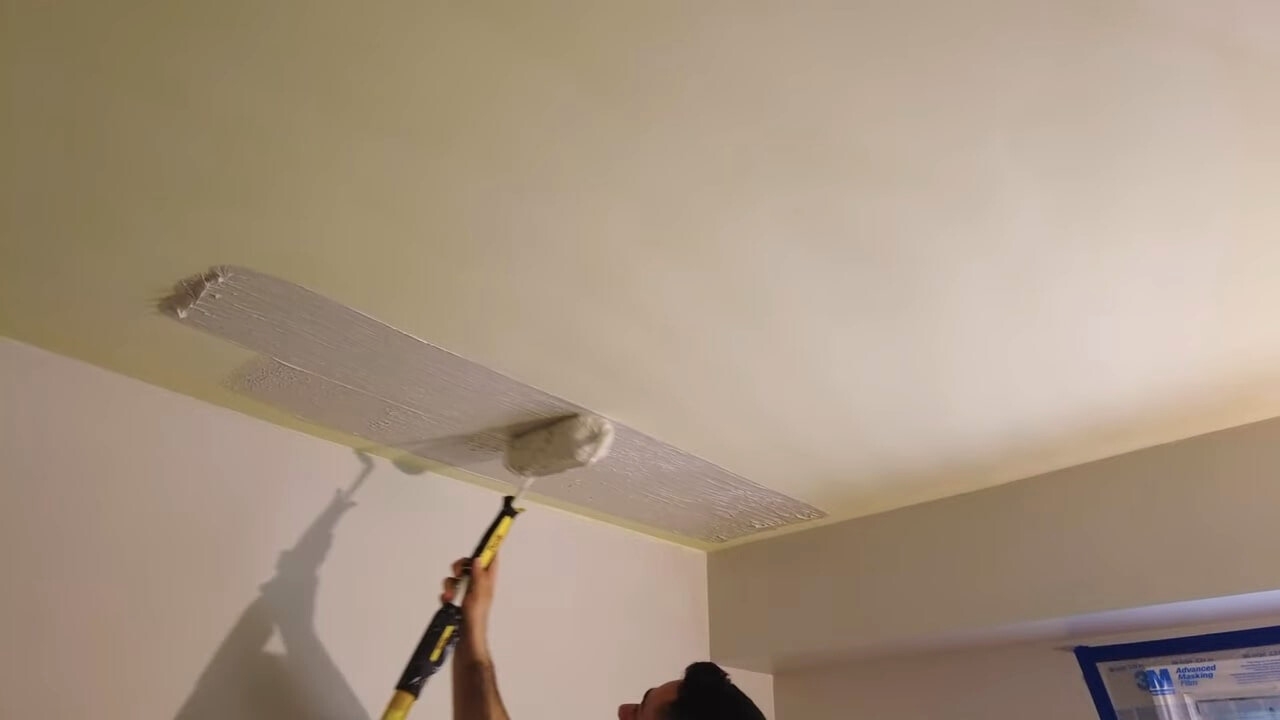
Here’s a pro tip: when working solo, it’s often more manageable to divide and conquer. We recommend rolling out half of the room first, then skimming it before tackling the second half. This strategy helps maintain control and ensures a more seamless finish. So, roll, dip, roll, dip, and repeat until you’ve covered half of the ceiling with a layer of mud. With each pass, take your time and maintain a steady rhythm to achieve the best results.
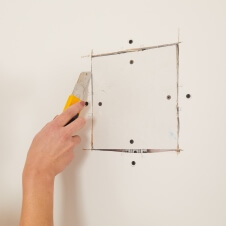
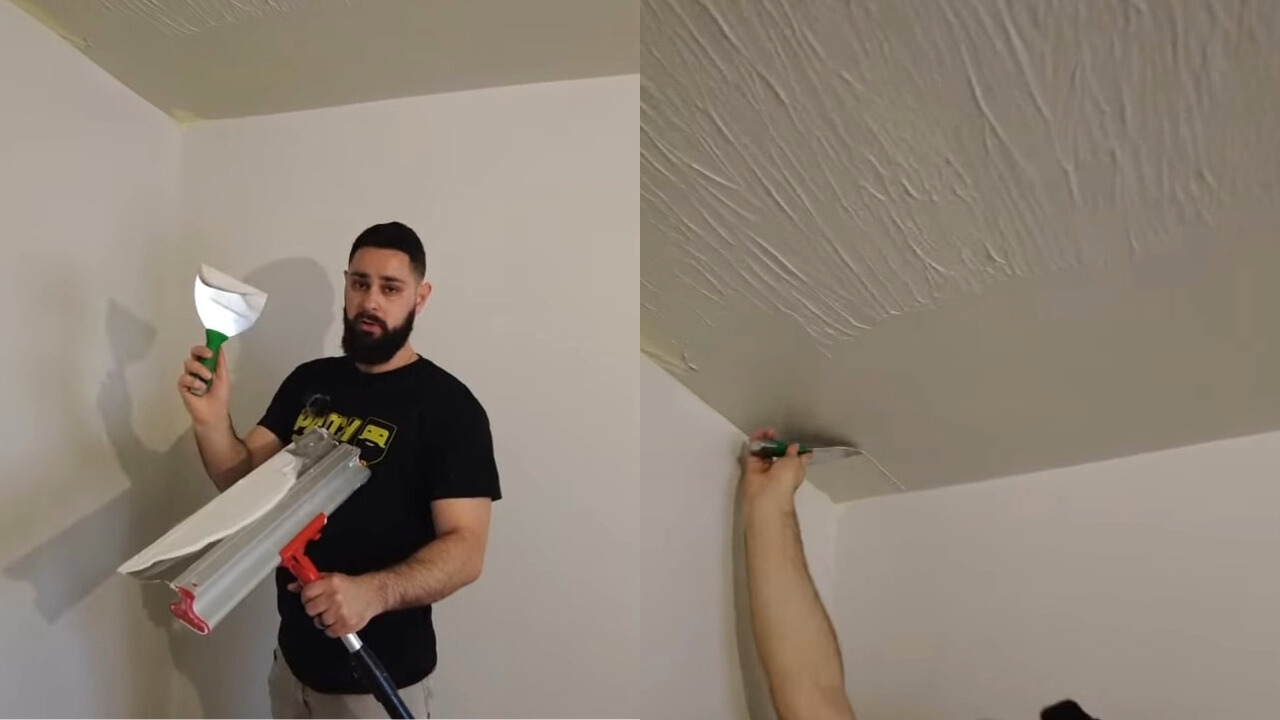
Step 4: Skim the Edges and Corners
Grab your skimming blade and take a small amount of mud onto its surface. With a steady hand, carefully push the mud into the edges and corners of the ceiling. Keep in mind that if your ceilings aren’t perfectly level, this step might present some challenges. But don’t worry – any imperfections can be easily addressed later with the 6-inch spatula. At this stage, don’t worry too much about how it looks; the primary focus is on ensuring that the mud is effectively distributed into every nook and cranny. So, take your time and concentrate on getting the mud neatly into the edges and corners for a professional finish.
Step 5: Fill Gaps in Edges
This step is all about addressing any pesky gaps that may have emerged along the edges or corners of your ceiling. This is where your trusty 6-inch spatula comes into play. Load up the spatula with a generous amount of mud and gently apply it to the empty spots, filling them in with ease. Take your time and work methodically, ensuring that each gap is adequately filled. With a bit of patience and attention to detail, you’ll soon have those edges looking flawless. Once all the edges are corners are done, it’s time to move to the next step.
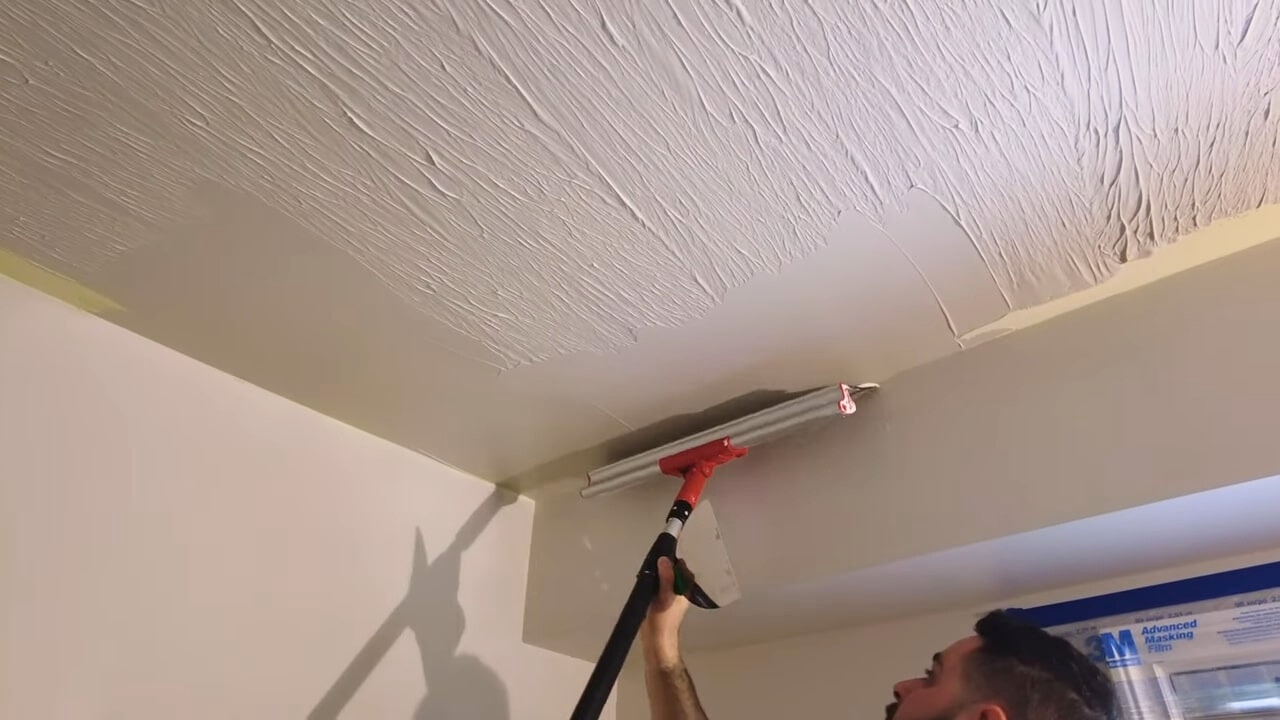
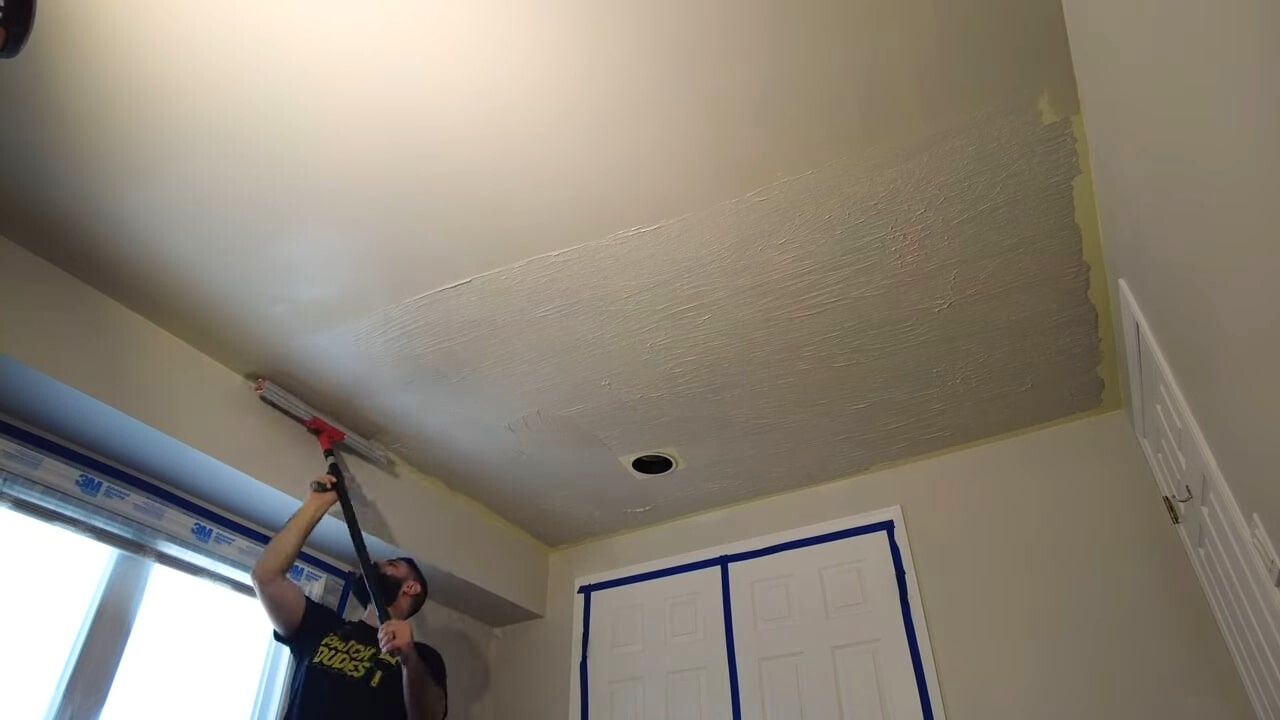
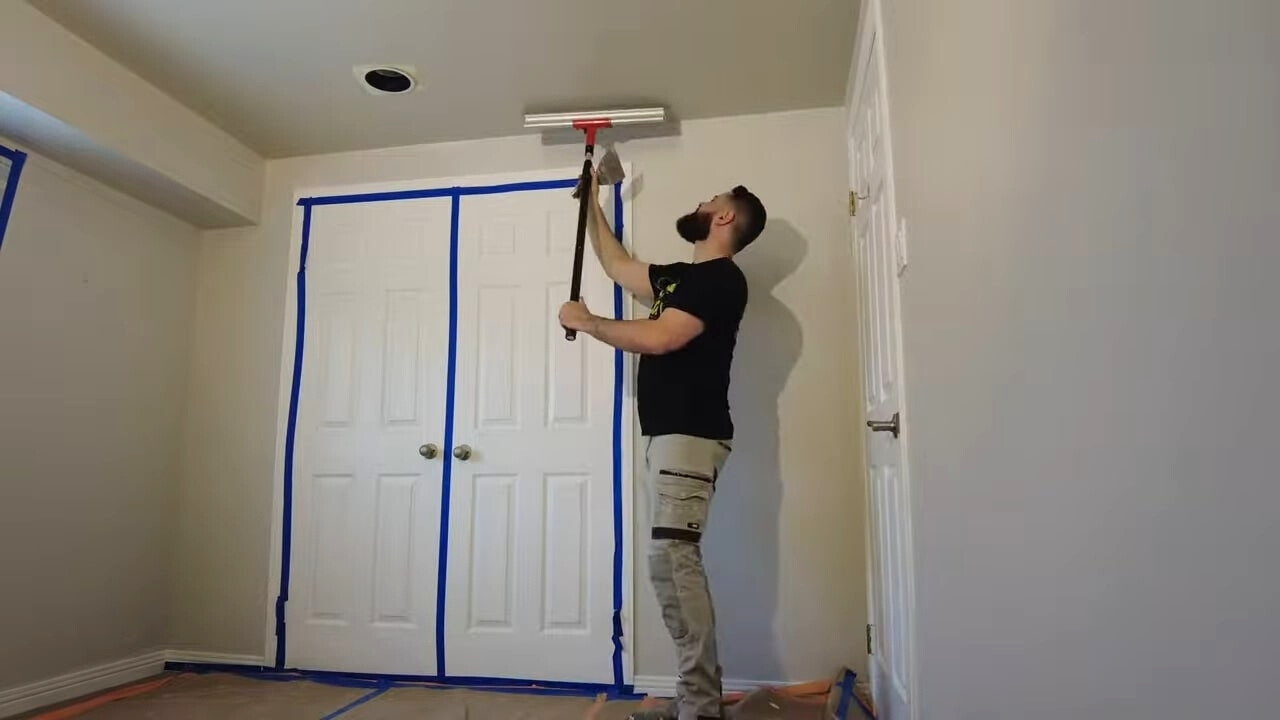
Step 6: Skim From Front to Back
Now you want to begin skimming your ceiling from front to back. To start, adopt a methodical approach by starting directly from the edge and working your way inward. With each swipe of the skimming blade, apply significant pressure to ensure thorough coverage and removal of excess mud.
You will want to wipe the ceiling 2 or 3 times from different angles, ensuring that you address any highs, lows, or imperfections along the way (don’t worry, this is explained in the following steps).
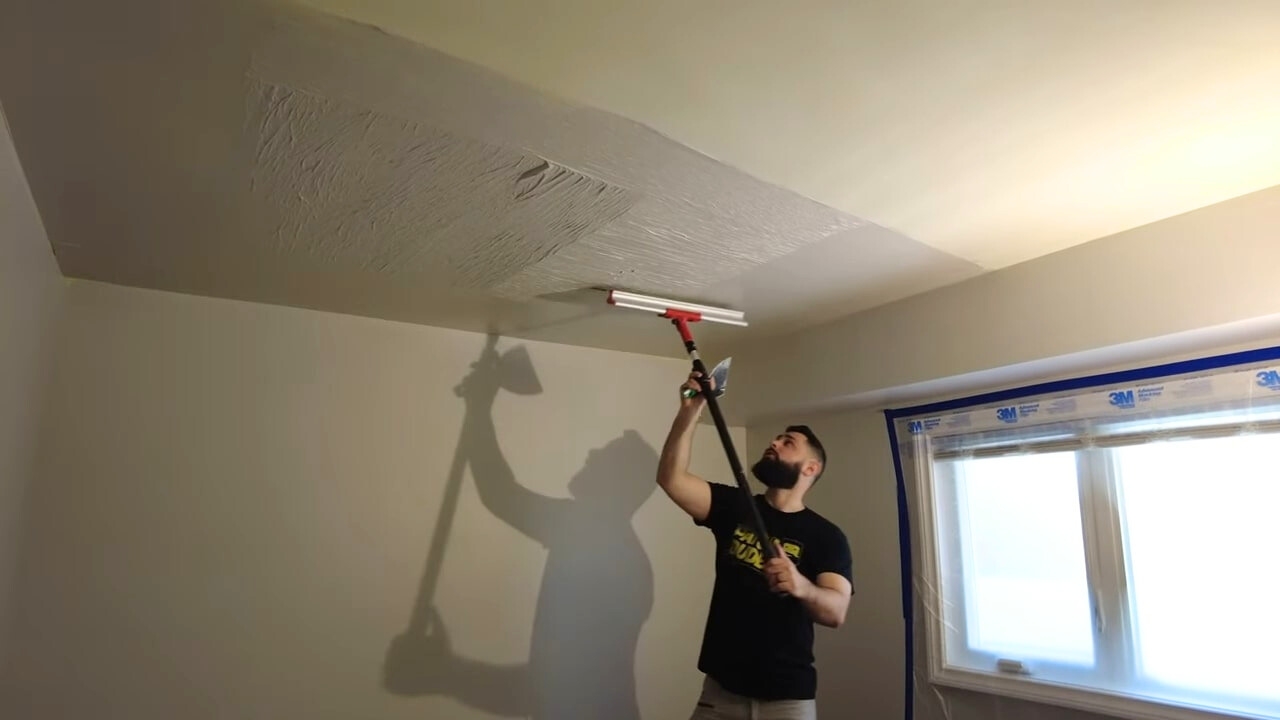
As you glide the blade across the surface, you’ll notice that quite a bit of mud is being removed – this is perfectly normal. After each swipe, use the spatula to clear the excess mud from the blade, wiping it back into the bucket to maintain a clean and efficient workspace. Remember, precision and consistency are key as you strive for a smooth and polished finish. To learn more about blade technique and skimming etiquette, watch the video below!
Step 7: Skim From Side to Side
Now it’s time for the second round of skimming, this time from side to side. Adopt the same meticulous approach as before, ensuring even pressure and thorough coverage as you swipe across the ceiling. With each pass, you’ll still be removing a significant amount of excess mud, so don’t be surprised. Remember the drill: start at the edges, swipe, clean the blade with the spatula, add any excess mud back to the bucket, and repeat until you’ve traversed the entire section.
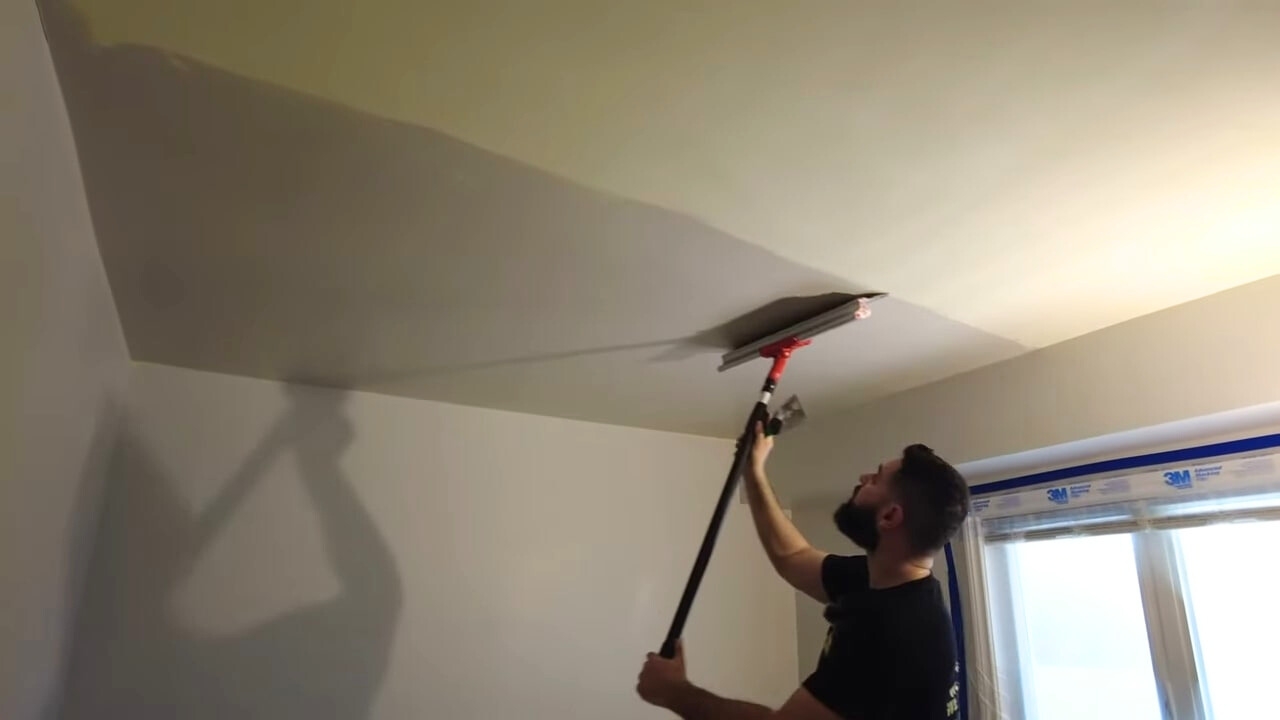
Step 8: Skim From Front to Back Again
Now it’s time for the final pass of skimming, once again from front to back. However, this time, the objective shifts slightly. While you’ll still apply significant pressure, the focus now is on smoothing out any remaining imperfections rather than removing excess mud. Angle the knife almost flat against the ceiling to achieve this, ensuring a gentle yet firm touch. Unlike previous passes, you’ll find that you’re removing much less mud – barely any at all. Despite this, maintain consistency in your technique, swiping methodically across the ceiling until you’ve covered the entire section.

Step 9: Repeat on Other Side
With one half of the ceiling now complete, it’s time to mirror the process on the other side. Begin by returning to Step 3 and rolling out the mud onto the remaining half of the ceiling surface. Follow the same meticulous steps we’ve outlined thus far, from rolling and skimming to filling gaps and refining edges. Take your time and maintain consistency in your technique as you work towards achieving a seamless finish across the entire ceiling. With each step, ensure thorough coverage and attention to detail, mirroring the precision and care applied to the first half.
By replicating the process, you’ll soon have both halves of the ceiling transformed with a professional-grade skimming job. Once the mud has dried and settled, our work doesn’t end there. We’ll bring out our trusty Festool sander once again to put the finishing touches on the ceiling. This step is crucial for ensuring that any small imperfections left behind are smoothed out, leaving nothing but a flawless and perfect surface. With precision and care, we’ll gently sand away any unevenness, creating a uniform texture across the entire ceiling. The result? A surface that’s not only smooth to the touch but also visually stunning, ready to be admired for years to come.

And there you have it! With the completion of our ceiling skimming tutorial, your space is now one step closer to achieving its full potential. For more helpful tutorials and informative content, be sure to subscribe to our YouTube channel.
And if you’d rather leave the job to the professionals, don’t hesitate to reach out to our team. Whether it’s popcorn ceiling removal or simply ceiling skimming, we’ve got you covered with top-notch services tailored to your needs. Get in touch with us today to transform your space and experience the difference with the Patch Dudes!
Watch the Full Video Below!
SAME DAY
SUPERHERO
OUR SERVICES