Avoid These Common Drywall Patching Mistakes
Here at Patch Dudes, we understand the appeal of tackling home improvement projects on your own. Patching your own drywall can be a rewarding and cost-effective solution. However, it’s crucial to be aware of the common mistakes people make when attempting this task. By avoiding these mistakes, you can achieve a flawless finish that will enhance the overall appearance of your walls.
In this article, we will guide you through the essential steps of patching drywall while highlighting the mistakes you should avoid. Understanding these mistakes will empower you to achieve professional results without the need for costly repairs or hiring a professional contractor.
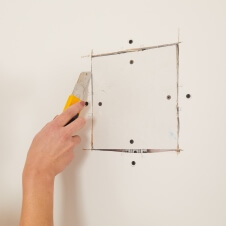
Insufficient Preparation
Proper preparation is crucial when it comes to patching drywall. Without adequate surface preparation, even the most skilled patching techniques may fail to produce a seamless result. To ensure a successful patch, it is essential to follow a series of necessary steps that will guarantee your surface is clean, smooth, and ready for patching. The first step in the preparation process is to remove any loose debris or paint from the damaged area. Use a putty knife or sandpaper to gently scrape away any loose or flaking material. This will create a clean and stable base for the patching compound. Once the debris is removed, it is important to clean the area thoroughly. Wipe the surface with a damp cloth or sponge to remove any dust or residue.
This will ensure proper adhesion of the patching compound and prevent any contaminants from affecting the final result. Before applying the patching compound, it is crucial to prime the damaged area. Priming not only improves adhesion but also seals the surface, preventing further damage or moisture from affecting the patch. Use a high-quality drywall primer and apply it evenly to the damaged area. Finally, it is essential to let the primer dry completely before proceeding with patching. This will ensure that the patching compound adheres properly and prevents any issues with the drying process. By following these steps for surface preparation, you can create an ideal foundation for a flawless patch. Taking the time to prepare the surface properly will result in a seamless and professional-looking finish.
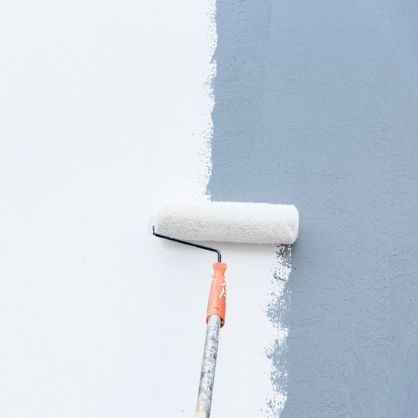
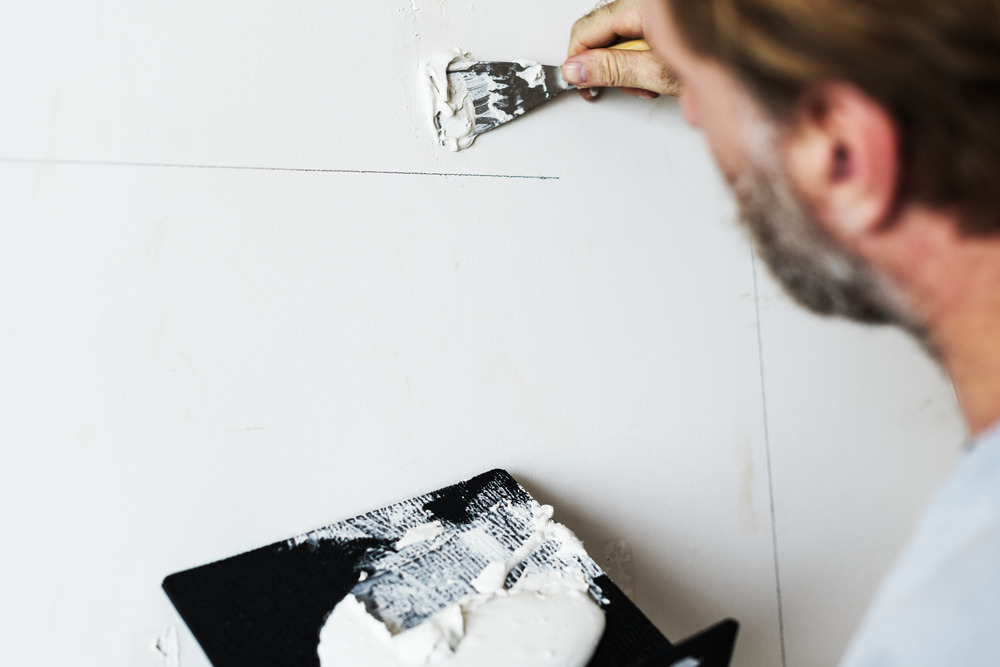
Incorrect Patching Techniques
Using the right techniques is essential when it comes to patching drywall. Incorrect patching techniques can result in an uneven surface and noticeable repairs. In this section, we will guide you through the correct way to apply joint compound, feather the edges, and achieve seamless blending with the surrounding wall.
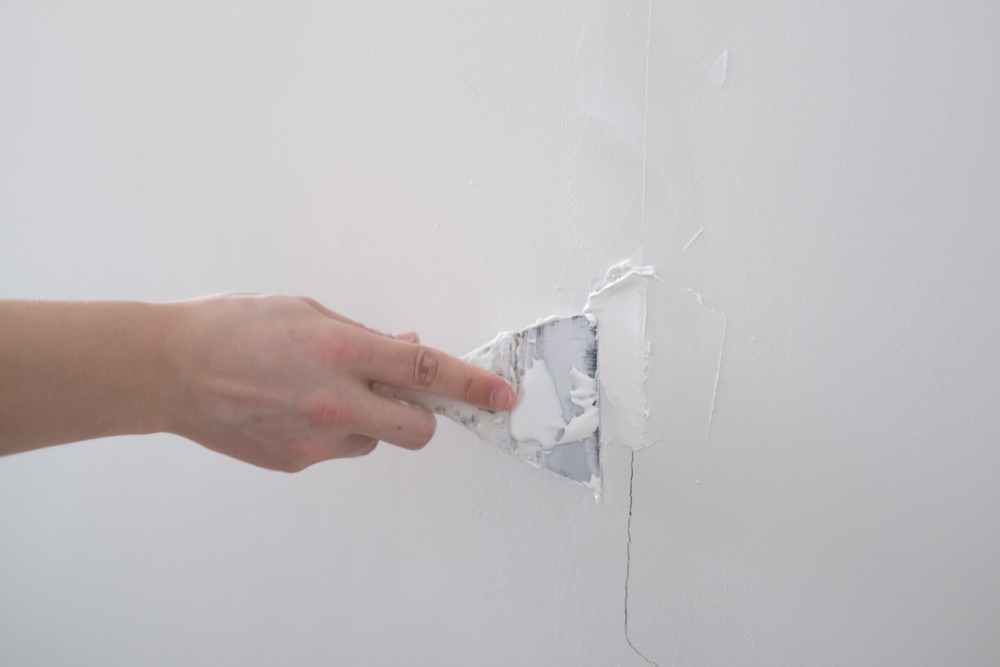
Applying Joint Compound
When patching drywall, the joint compound is a crucial element. It helps to fill in the gaps and create a smooth surface. To apply the joint compound:
- Start by spreading a thin layer of joint compound over the damaged area with a putty knife.
- Press the compound firmly into the patch, ensuring it adheres to the drywall.
- Apply a second layer of joint compound, feathering it out beyond the edges of the patch.
- Smooth the compound using a wide putty knife or a drywall knife, eliminating any excess compound.
Remember to work in thin layers, building up the compound gradually for a seamless finish.
Feathering the Edges
Feathering the edges is an important step in achieving a seamless blend between the patch and the surrounding wall. It helps to create a gradual transition and minimize visible lines. To feather the edges:
- Gently taper the joint compound towards the edges of the patch using a feathering technique.
- Blend the compound into the surrounding wall by spreading it progressively thinner as you move away from the patched area.
- Feather the edges multiple times, allowing the compound to dry between each layer, until the transition is smooth and indistinguishable.
Achieving Seamless Blending
To achieve seamless blending, it’s important to ensure that the patched area matches the texture of the surrounding wall. Here’s how:
- Use the appropriate tools, such as a brush, roller, or texture spray, to mimic the texture of the wall.
- Apply the chosen texture method to the patched area, gradually extending it to the surrounding wall to achieve a uniform appearance.
- Blend the texture carefully, ensuring it seamlessly integrates with the existing wall texture.
Remember, patience and attention to detail are key when it comes to achieving a professional-looking patch. Take your time and follow these correct patching techniques for optimal results.
Lack of Patience and Proper Drying Time
Rushing the drying process can lead to visible imperfections in your drywall patching project. It’s essential to understand the importance of allowing the patching materials to dry completely before moving on to the next steps. Patience is key to achieving a flawless finish. When it comes to drying time, it’s important to remember that different factors can affect the duration. Factors such as temperature, humidity levels, and the thickness of the patching material can all impact how long it takes for the patch to dry. To ensure sufficient drying time, consider the following tips:
- Follow the manufacturer’s instructions: Different patching materials may have specific drying time recommendations. It’s crucial to read and follow the instructions provided to achieve optimal results.
- Allow ample time for drying: It’s better to be patient and give the patching material more time to dry than to rush the process. Remember that proper drying can take several hours or even days, depending on the conditions and materials used.
- Check for dryness: Before proceeding to the next steps, make sure the patching material feels completely dry to the touch. Applying additional layers or sanding too soon can lead to a subpar finish.
Remember, patience is crucial throughout the drywall patching process. Taking the time to allow the materials to dry completely will help you achieve a smooth and professional-looking result.
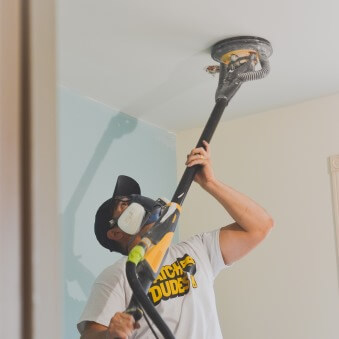
Inadequate Sanding and Smoothing
Achieving a smooth and seamless surface is essential for a professional-looking finish when it comes to drywall patching. Proper sanding and smoothing techniques play a vital role in achieving this outcome. Once you have patched the damaged area, it’s important to prepare it for a seamless surface finish. Begin by gathering the necessary tools, including sandpaper, a sanding block, and a drywall knife. Start by sanding the patched area using fine-grit sandpaper. This will help remove any excess joint compound and create a smooth surface. Be sure to sand in a circular motion, blending the edges of the patch with the surrounding wall.
Take care not to sand too aggressively, as this can damage the underlying drywall. After sanding, use a sanding block to further smoothen the patched area. This will help ensure that the surface is level and free from any imperfections. Use long, even strokes, moving in the same direction to achieve a consistent finish. Take your time during this step to ensure a seamless result. Once you have finished sanding and smoothing the patched area, wipe away any dust or debris with a clean cloth. This will help create a clean surface for the next step in the process — applying the surface finish. By following these sanding and smoothing techniques, you can achieve a flawless surface finish that seamlessly blends with the rest of your wall. Remember to exercise patience and pay attention to detail during this stage of the drywall patching process.
Patching your own drywall can be a satisfying and cost-effective solution. By avoiding the common mistakes discussed in this article, you can achieve a professional-looking finish and save money on hiring professionals.
However, we understand that not everyone may have the time, skills, or interest in taking on this task themselves. That’s where our professional drywall repair services come in. We have a team of experienced experts ready to assist you with any patching needs you may have. Whether it’s a small crack or a large hole, we can transform your damaged walls into flawless, smooth surfaces.