Removing stucco from your ceiling may seem like a simple DIY project, but many homeowners underestimate the time, effort, and mess involved. While doing it yourself can save money, it can also lead to costly mistakes if you’re not prepared.
If you’re planning to tackle this project on your own, here are five common mistakes to avoid, and the best solutions to help you achieve smooth, professional-looking results!
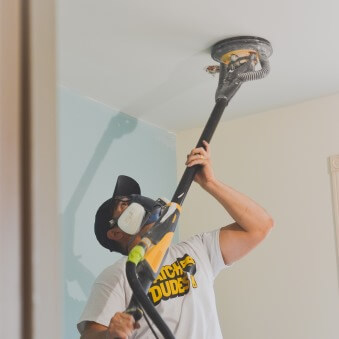
1. Using the Wrong Tools for Removal
The Problem:
Many DIY-ers attempt to scrape off stucco using a small drywall knife or household tools. This can:
❌ Ding and damage the ceiling
❌ Leave an uneven, patchy surface
❌ Create excessive airborne dust that can be harmful to your lungs
The Solution:
✅ Rent a dust-free sanding system like the Festool for a more efficient and safer removal process.
✅ Use a wide scraper to remove more material at once and minimize gouging the drywall.
Tip: Always test a small area before fully committing to any removal technique.
2. Drywall Dust Gets Everywhere
The Problem:
Unlike painting or simple patchwork, stucco removal is an extremely dusty job. Homeowners often underestimate how far drywall dust can travel. Common issues include:
❌ Dust spreading throughout the home
❌ Clogged HVAC filters or vents
❌ Residue settling on furniture, walls, and electronics, creating hours of cleanup
The Solution:
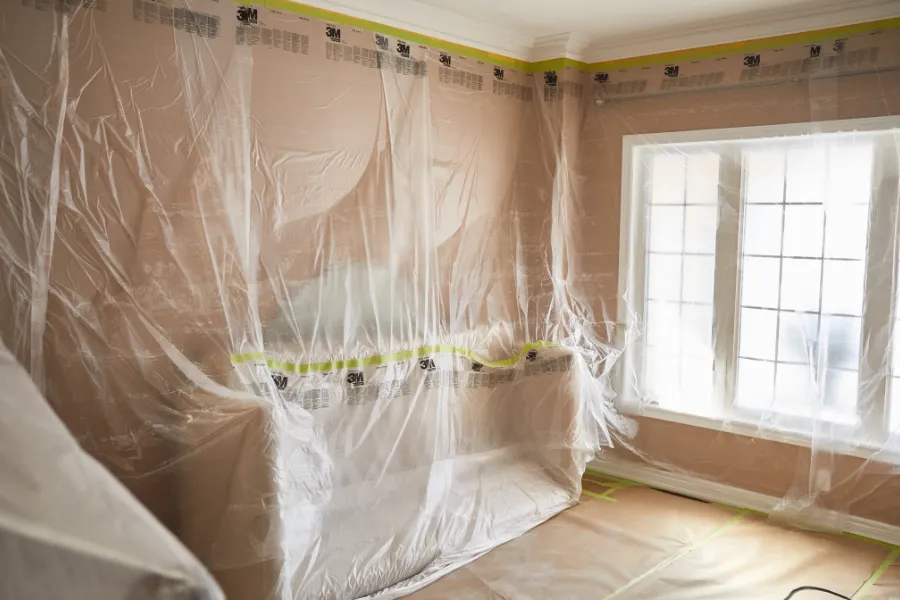
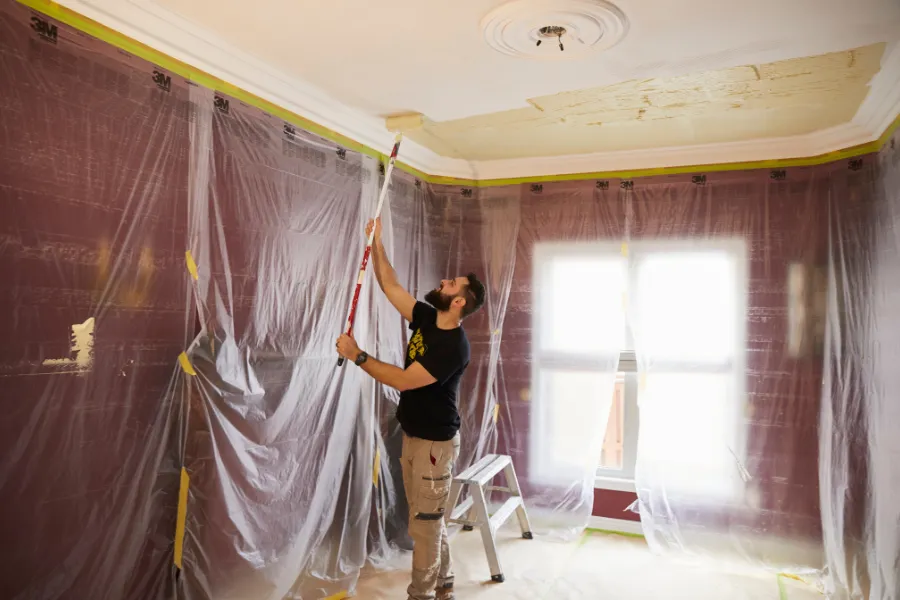
✅ Seal off areas not being worked on using heavy-duty plastic and zipper door covers.
✅ Consider renting an air scrubber machine to filter dust and improve air quality.
Tip: Lay down drop cloths and remove or tightly wrap all furniture. Vacuum frequently with a HEPA vacuum to control dust buildup.
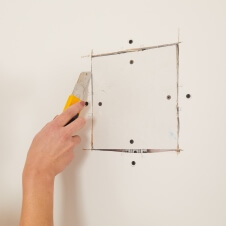
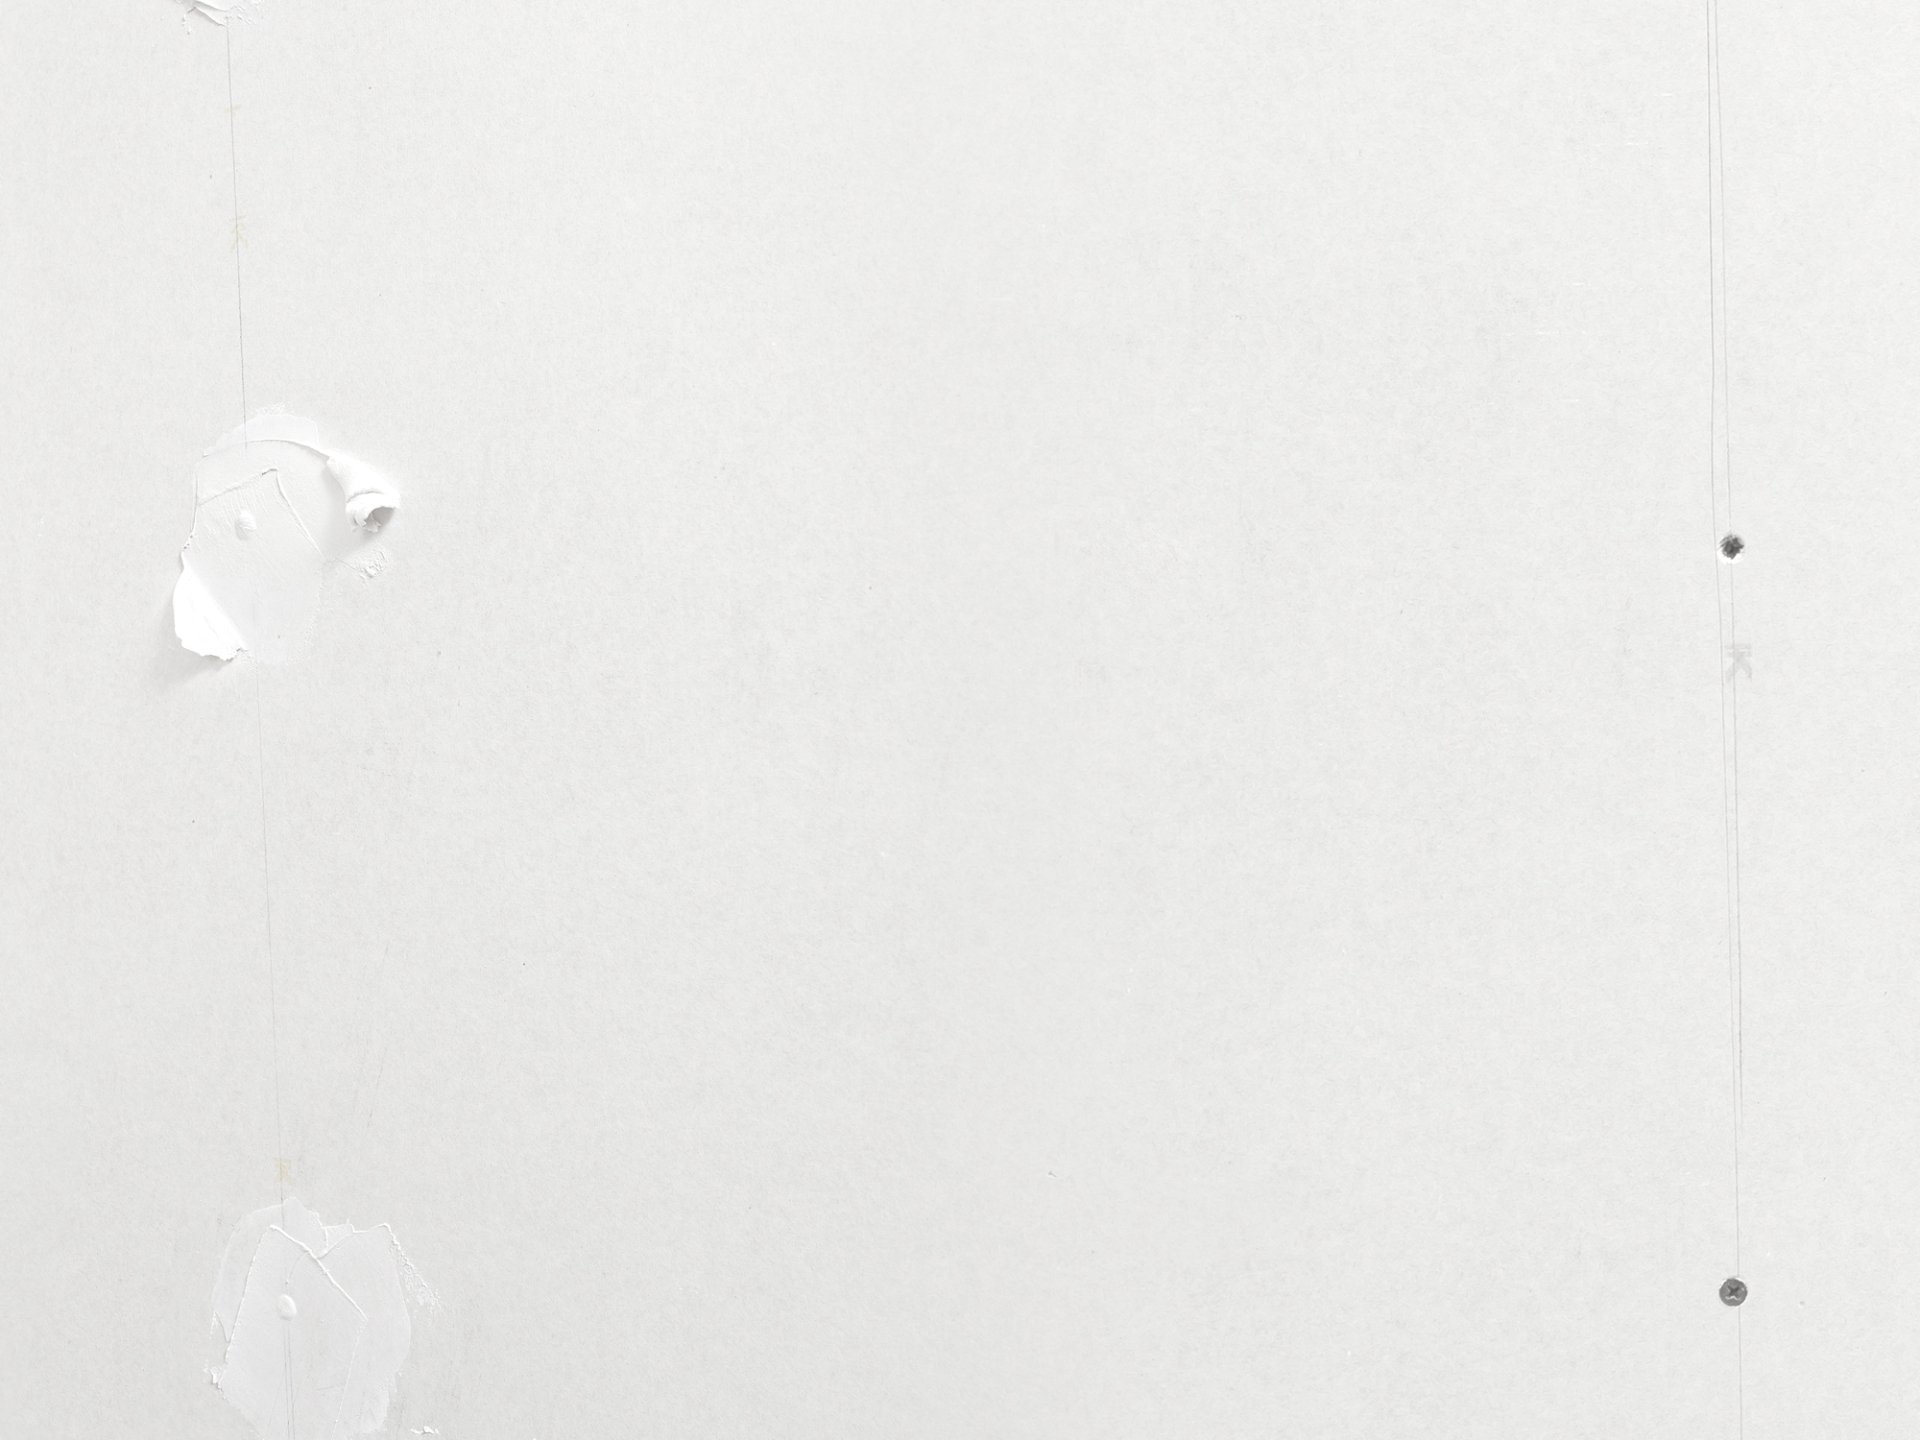
3. Uneven Finish After Stucco Removal
The Problem:
When stucco is originally sprayed, the drywall underneath is often not finished to a paint-ready level. Many DIY-ers skip skim coating, which results in:
❌ Uneven textures and visible imperfections
❌ A rough, patchy appearance that’s difficult to fix after painting
The Solution:
✅ Apply two thin layers of drywall joint compound (skim coat) over the entire ceiling to create a smooth, professional finish.
Skim coating is a time-consuming but essential step for achieving that perfectly smooth, modern finish.
4. Underestimating the Time Required
The Problem:
Many homeowners assume stucco removal is a quick weekend project. However, without the right tools and experience, it often takes much longer. A first-time DIY-er may:
❌ Need extra time for setup, removal, repairs, and cleanup
❌ Not anticipate the level of mess and disruption
❌ Rush through steps, leading to poor results
The Solution:
✅ Watch an instructional Patch Dudes YouTube video for a step-by-step guide.
✅ Realistically, a 200 sq. ft. room will take a first-time DIY-er 4–6 days to complete. Plan your schedule accordingly and expect a messy work area during the process.
Tip: If you’re removing stucco from multiple rooms, consider doing one space at a time to limit disruption.
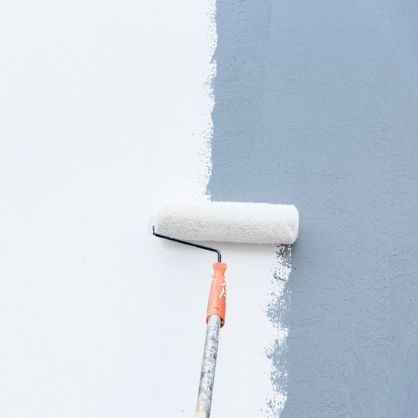
5. The Final Paint Job Doesn’t Look Flat & Uniform
The Problem:
After all that effort, your final result can still fall short if you use the wrong primer or paint, or skip priming altogether. Common issues include:
❌ Visible imperfections after painting
❌ An uneven finish that doesn’t look professionally done
The Solution:
✅ Use a PVA primer before painting to seal the skim-coated surface.
✅ Shine an LED light across the ceiling to spot small imperfections before painting.
✅ Choose a high-quality flat ceiling paint like Sherwin-Williams PROMAR 400 (a Patch Dudes favourite!).
Ceilings reflect light differently than walls, so using premium materials makes a noticeable difference.
Final Thoughts
Removing stucco is one of the most transformative updates you can make to your home’s interior, but it’s far from a beginner-level task. From managing dust to mastering a flawless skim coat, every step requires care and attention. The good news? With the right tools, adequate time, and realistic expectations, you can absolutely do it yourself, and end up with ceilings that look like they were finished by pros.
Still unsure? Sometimes the smartest DIY move is knowing when to call in the experts. Reach out to our team today for advice or a quote, and decide what’s best for your time, budget, and comfort level.