Drywall repairs may seem simple, but even small mistakes can lead to noticeable imperfections. Whether you’re filling a nail hole, covering water damage, or patching a large section, the methods you use are all that count. Most homeowners dive in with the assumption that it’s a simple weekend project, only to wind up with uneven patches, noticeable seams, or paint that simply doesn’t match.
If you’re planning a DIY drywall repair, here are five common issues you might face, and how to solve them like a pro!
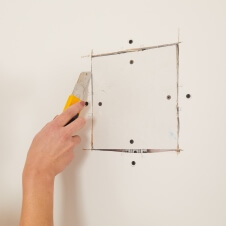
Using the Incorrect Drywall Size
The Problem:
Drywall comes in several different thicknesses – most commonly 1/4″, 3/8″, 1/2″, and 5/8″- and may also have added features like mold-resistance or fire-resistance. Using the wrong type or size can lead to misaligned surfaces, bulging seams, and even code violations in areas where specific materials are required.
The Solution:
✅ Measure Before You Buy – Always check the thickness of your existing drywall before purchasing replacement panels. A mismatch in thickness can be difficult to hide, especially on ceilings and corners.
✅ Use the Right Type – For bathrooms and kitchens, choose moisture-resistant drywall (often green or purple board). For garage ceilings or shared walls in duplexes, fire-rated drywall (Type X) may be necessary to meet building codes.
✅ Cut Precisely – Ensure your drywall patches are cut to fit snugly without forcing them into place, which can cause cracking or raised seams.
Using the Wrong Type of Tape
The Problem:
There are two main types of drywall tape: paper tape and fiberglass mesh tape. Each has its benefits, but they are not interchangeable when it comes to compound compatibility. Using the wrong combination can lead to tape bubbling, cracking, or coming loose over time.
The Solution:
✅ Use Paper Tape with Pre-Mixed Compound – For most repairs, especially corners and seams, paper tape combined with all-purpose joint compound creates strong, durable joints.
✅ Use Mesh Tape Only with Setting Compound (Hot Mud) – Mesh tape is easier to use for beginners and sticks to the wall on its own, but it must be embedded in a fast-setting compound to prevent cracking and weak joints.
✅ Avoid Skimping – Apply enough compound under and over the tape to ensure proper bonding, and always smooth it out with a taping knife to avoid bubbles.
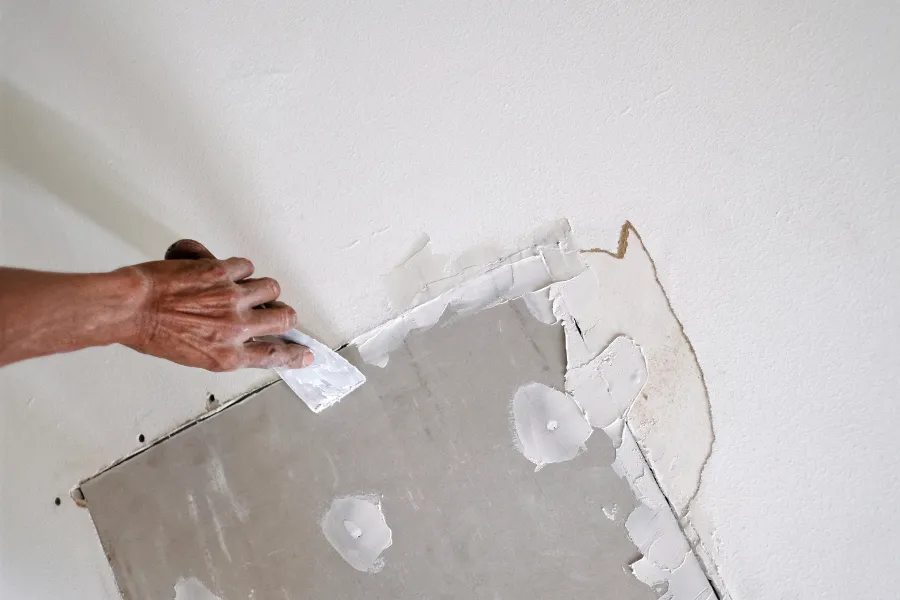
Applying One Thick Coat of Mud
The Problem:
Many DIYers think a thick coat of joint compound will speed up the process, but this often leads to cracking, uneven texture, and longer drying times. Thick mud shrinks more as it dries, and can sag or peel off the wall if not applied correctly.
The Solution:
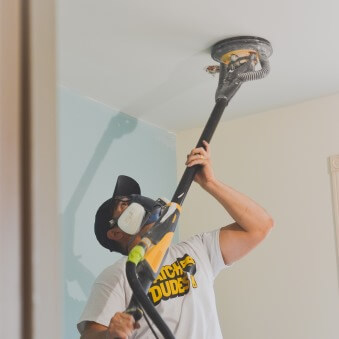
✅ Apply Multiple Thin Layers – Professional results come from applying 2–3 light coats of compound, with sanding in between. Each layer should feather out wider than the last for a smooth transition.
✅ Drying Time Is Key – Let each coat dry completely (which could take 12–24 hours depending on the product and humidity) before sanding or applying another.
✅ Use the Right Tools – A quality taping knife (6″, 10″, and 12″ sizes) helps you apply thin, even coats and blend the compound seamlessly into the surrounding wall.
Skipping Primer Before Painting
The Problem:
After patching, you might be eager to slap on some paint – but without primer, the repaired section will absorb paint differently, leading to an obvious blotchy spot called “flashing.” It’s one of the easiest ways to ruin a good patch job.
The Solution:
✅ Always Prime Patched Areas – Use a drywall primer or PVA primer to seal the repair before painting. This ensures uniform absorption of the topcoat.
✅ Match the Sheen – Glossy and semi-gloss finishes tend to highlight imperfections. For DIYers, flat or matte paints are more forgiving when blending repairs.
✅ Prime the Whole Wall if Needed – If you’ve made extensive repairs across a large area, consider priming and repainting the entire wall for the most consistent finish.
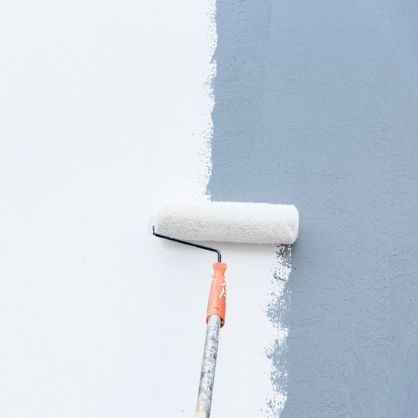
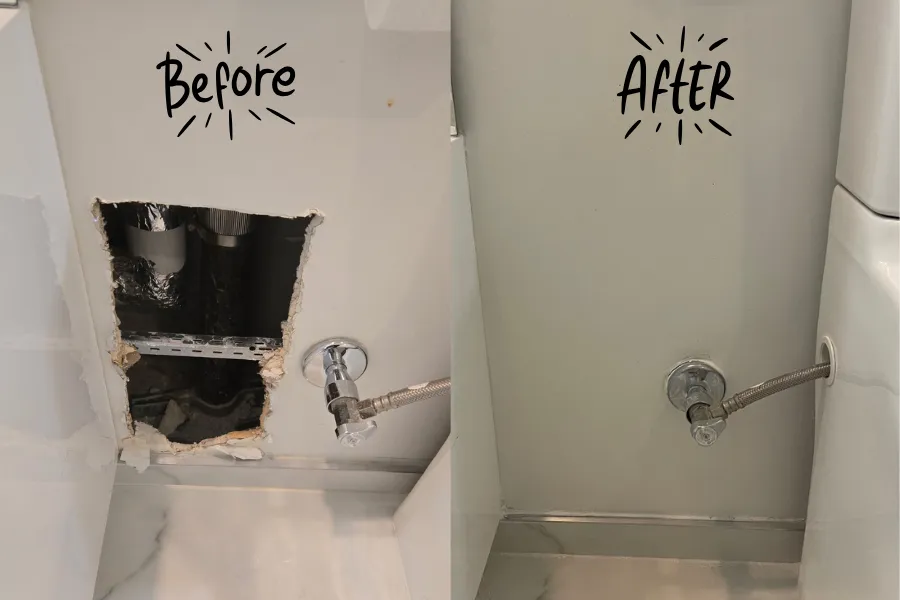
Only Painting the Repaired Area
The Problem:
You’ve patched the hole, primed it, and matched the paint… but the repair is still visible. Why? Because the original wall paint has likely faded, and the texture or sheen might not match, even if the paint can is the same.
The Solution:
✅ Paint the Whole Wall When Possible – For a seamless result, always paint corner-to-corner. A freshly painted patch in the middle of an old wall will almost always stand out.
✅ Feather the Paint – If full-wall painting isn’t an option, feather the paint out in wide strokes around the patch to gradually blend it with the surrounding surface.
✅ Use the Same Application Method – If the wall was originally painted with a roller, don’t use a brush on the patch – it creates a different texture.
Bonus Tip: Matching Texture Is an Art
If your wall has an existing texture – whether it’s orange peel, knockdown, or another type – your repair job needs to replicate that to look truly seamless.
✅ Use Spray Texture Kits – These are available at most hardware stores and are a good starting point for common textures.
✅ Practice First – Test the texture on a scrap piece of drywall or cardboard before applying it to your repair.
✅ Blend Gradually – Don’t over-apply texture. Instead, try to mimic the surrounding area with light, even sprays or trowel strokes.
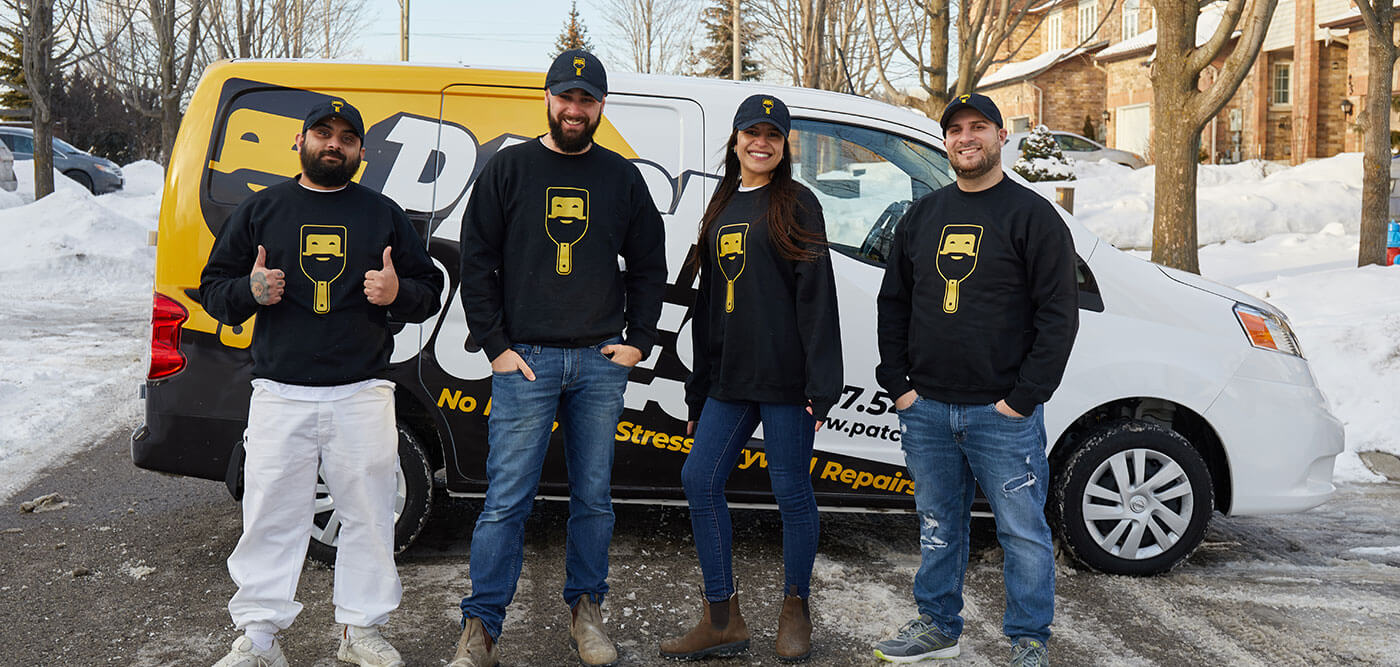
DIY or Call a Pro?
Drywall repair may look simple on the surface, but achieving a flawless, professional-grade finish requires precision, patience, and the right materials. While small repairs like nail holes or dents can be tackled with a bit of DIY know-how, larger or more complex repairs often benefit from professional attention.
Contact us today for a free quote and we will have your drywall looking good as new in no time!